Ivy fashion
1. Overview:
Ivy Fashion is a full-featured fashion e-commerce platform built to simulate real-world shopping workflows. The system includes a responsive frontend (Next.js 14), scalable backend (NestJS & Spring Boot), and an AI service (FastAPI).
Key Features:
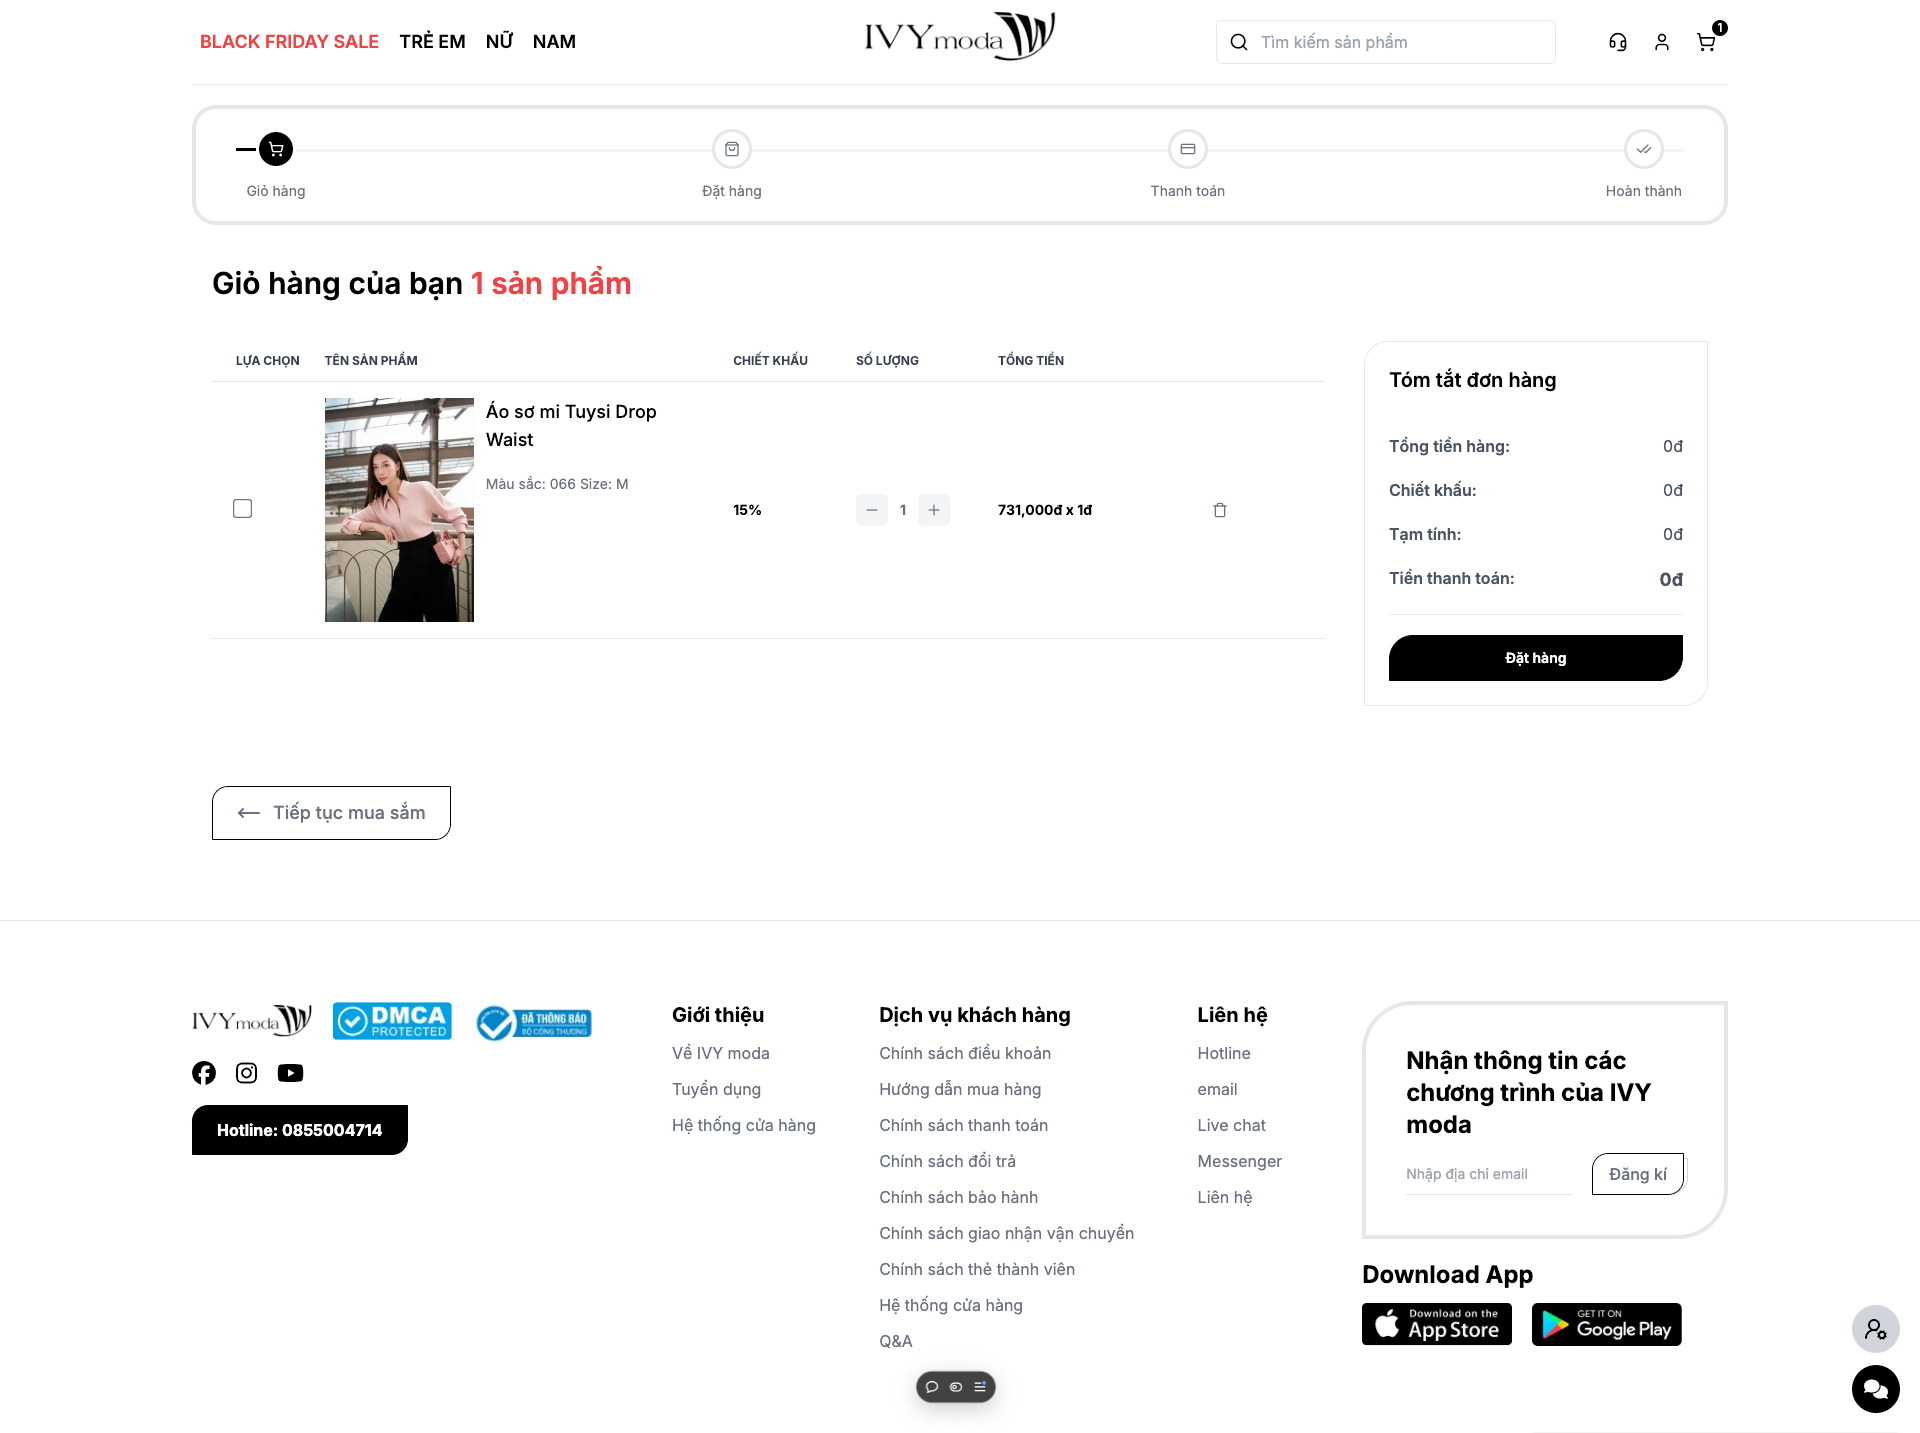
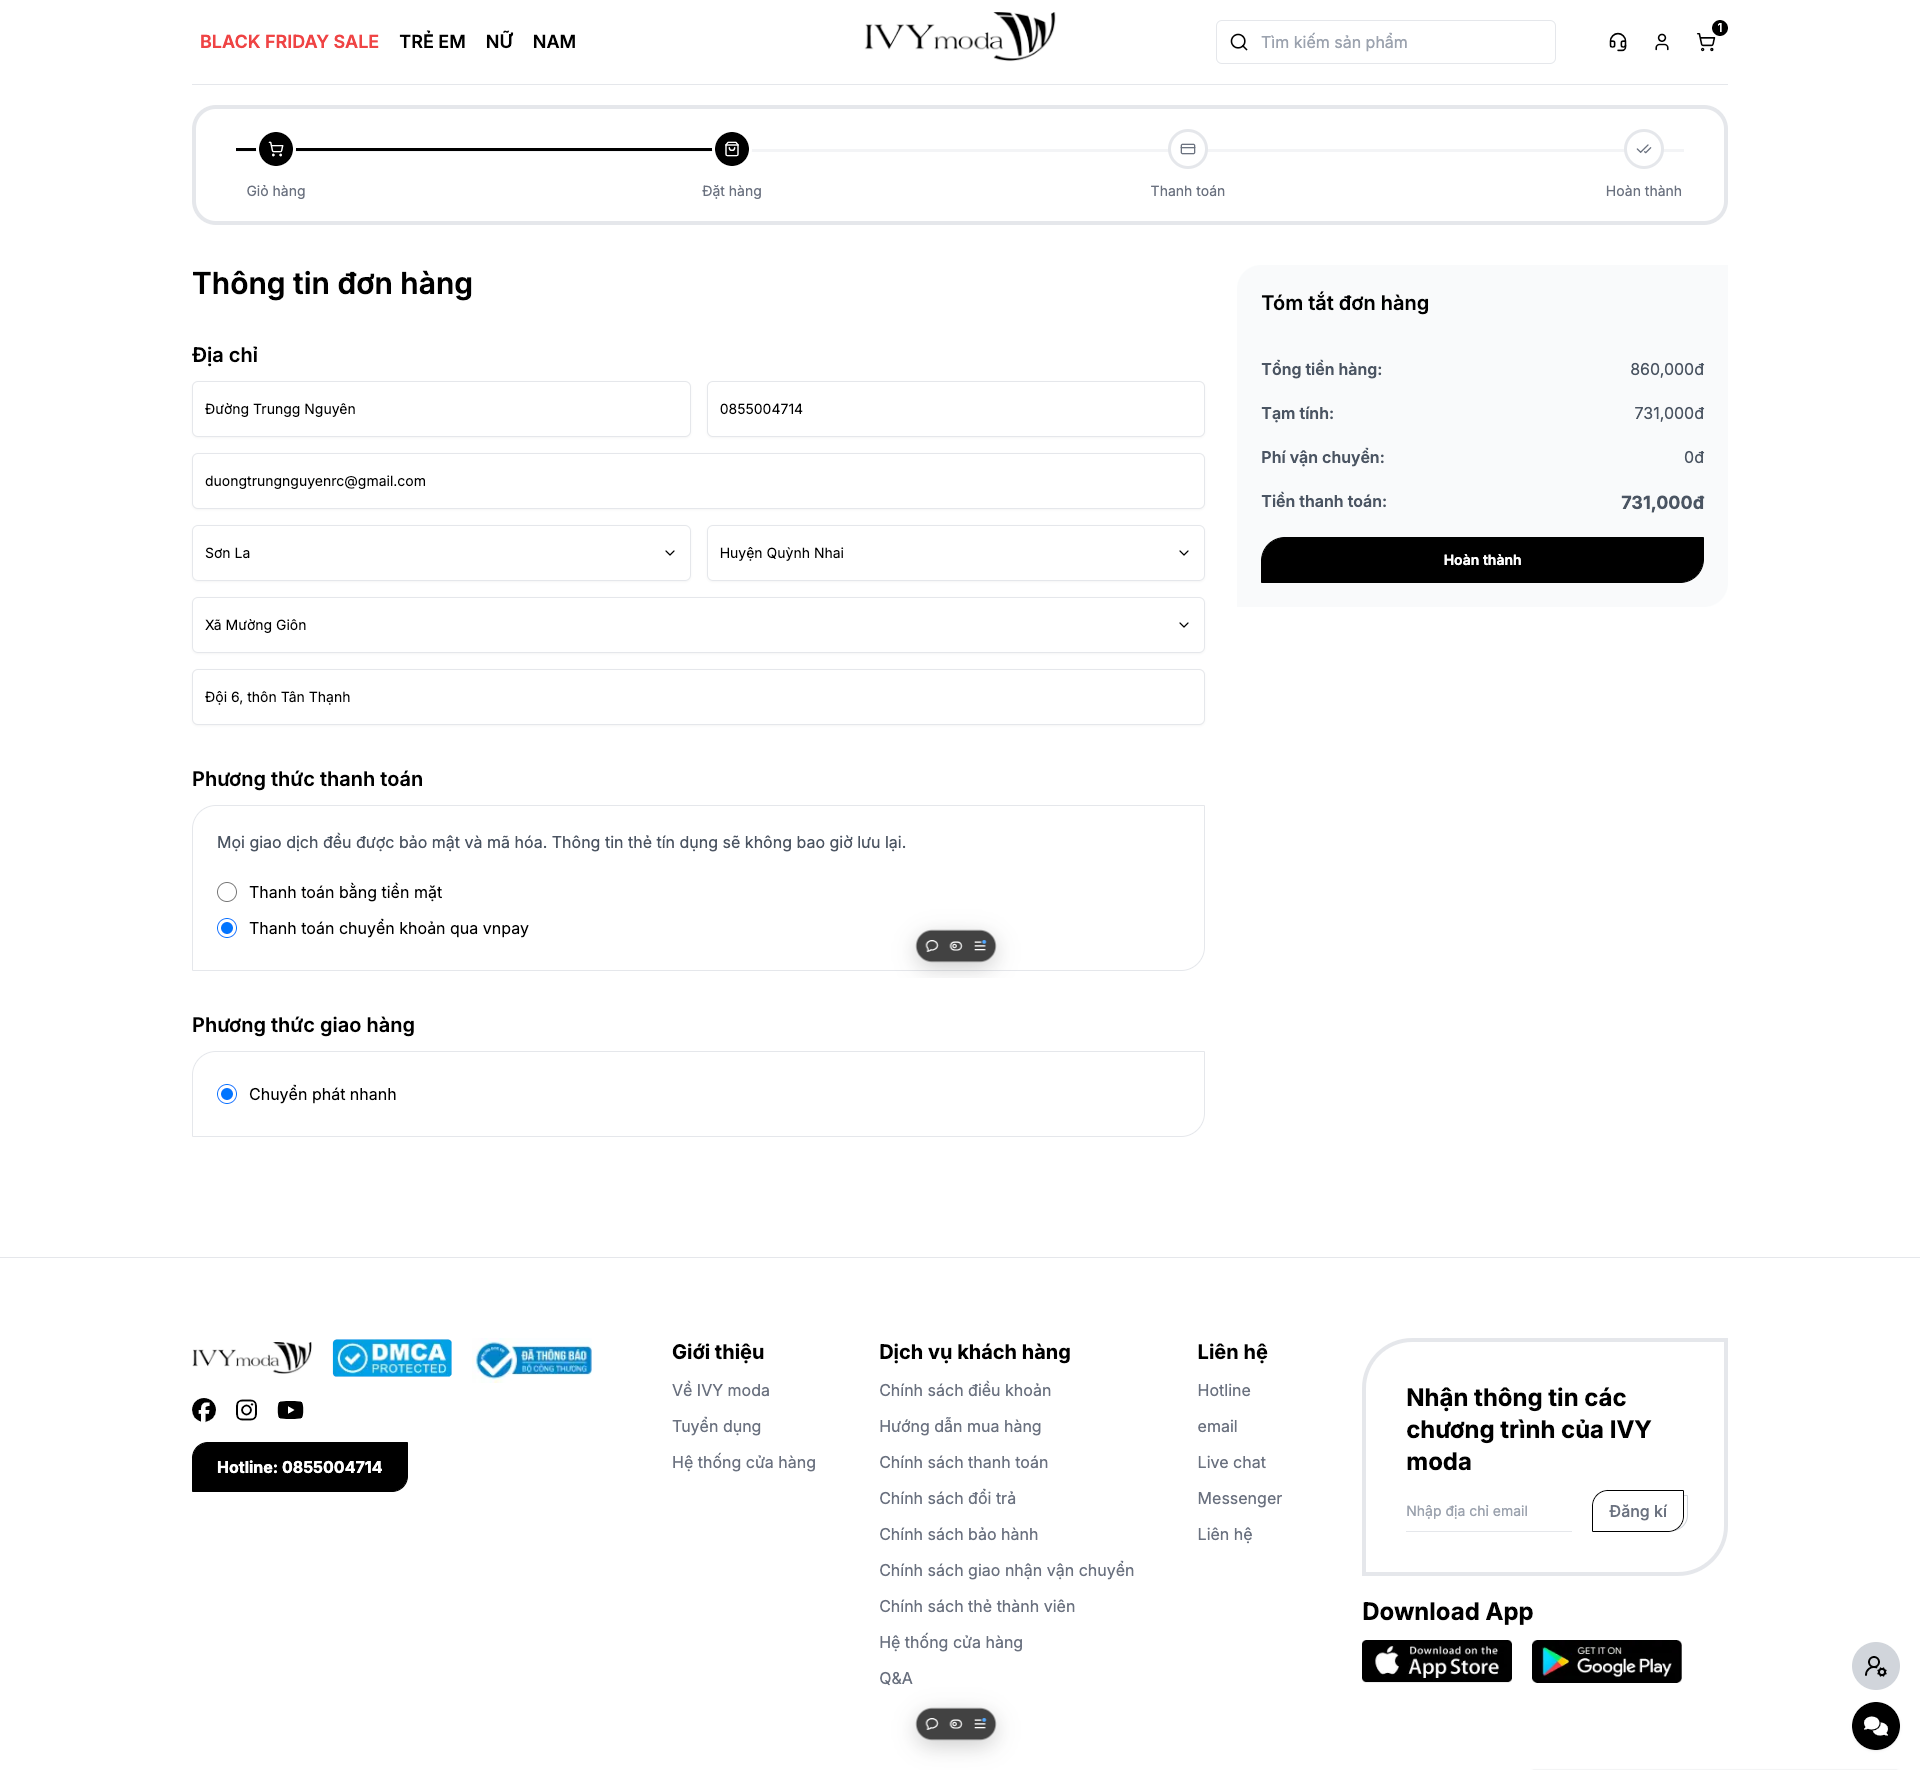
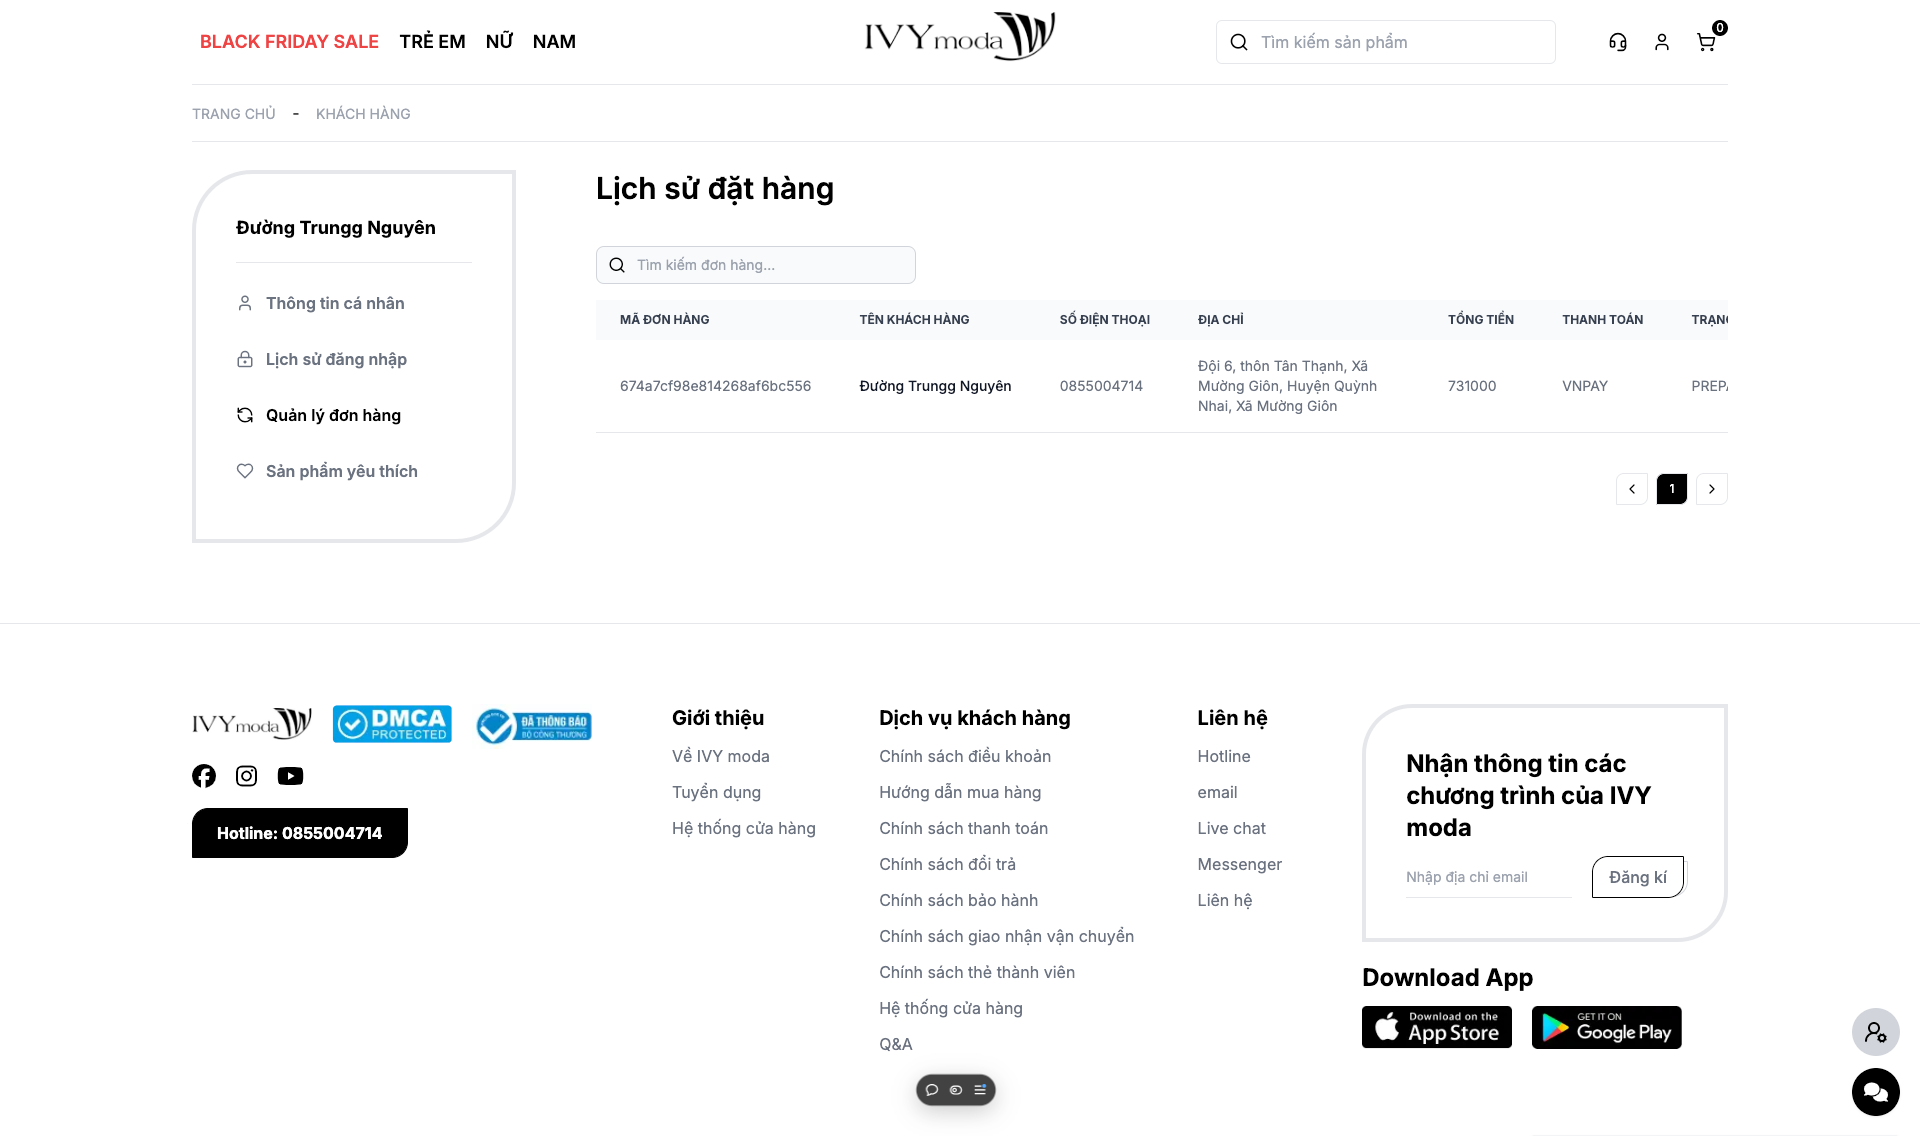
- Full order flow: browse products, manage cart, place orders, view order history and refund
- Integrated VNPay for online payment, refund and GHN API for real-time shipping fee calculation
- Safe authentication with JWT and refresh token mechanism, role-based access (user/admin), password reset via email
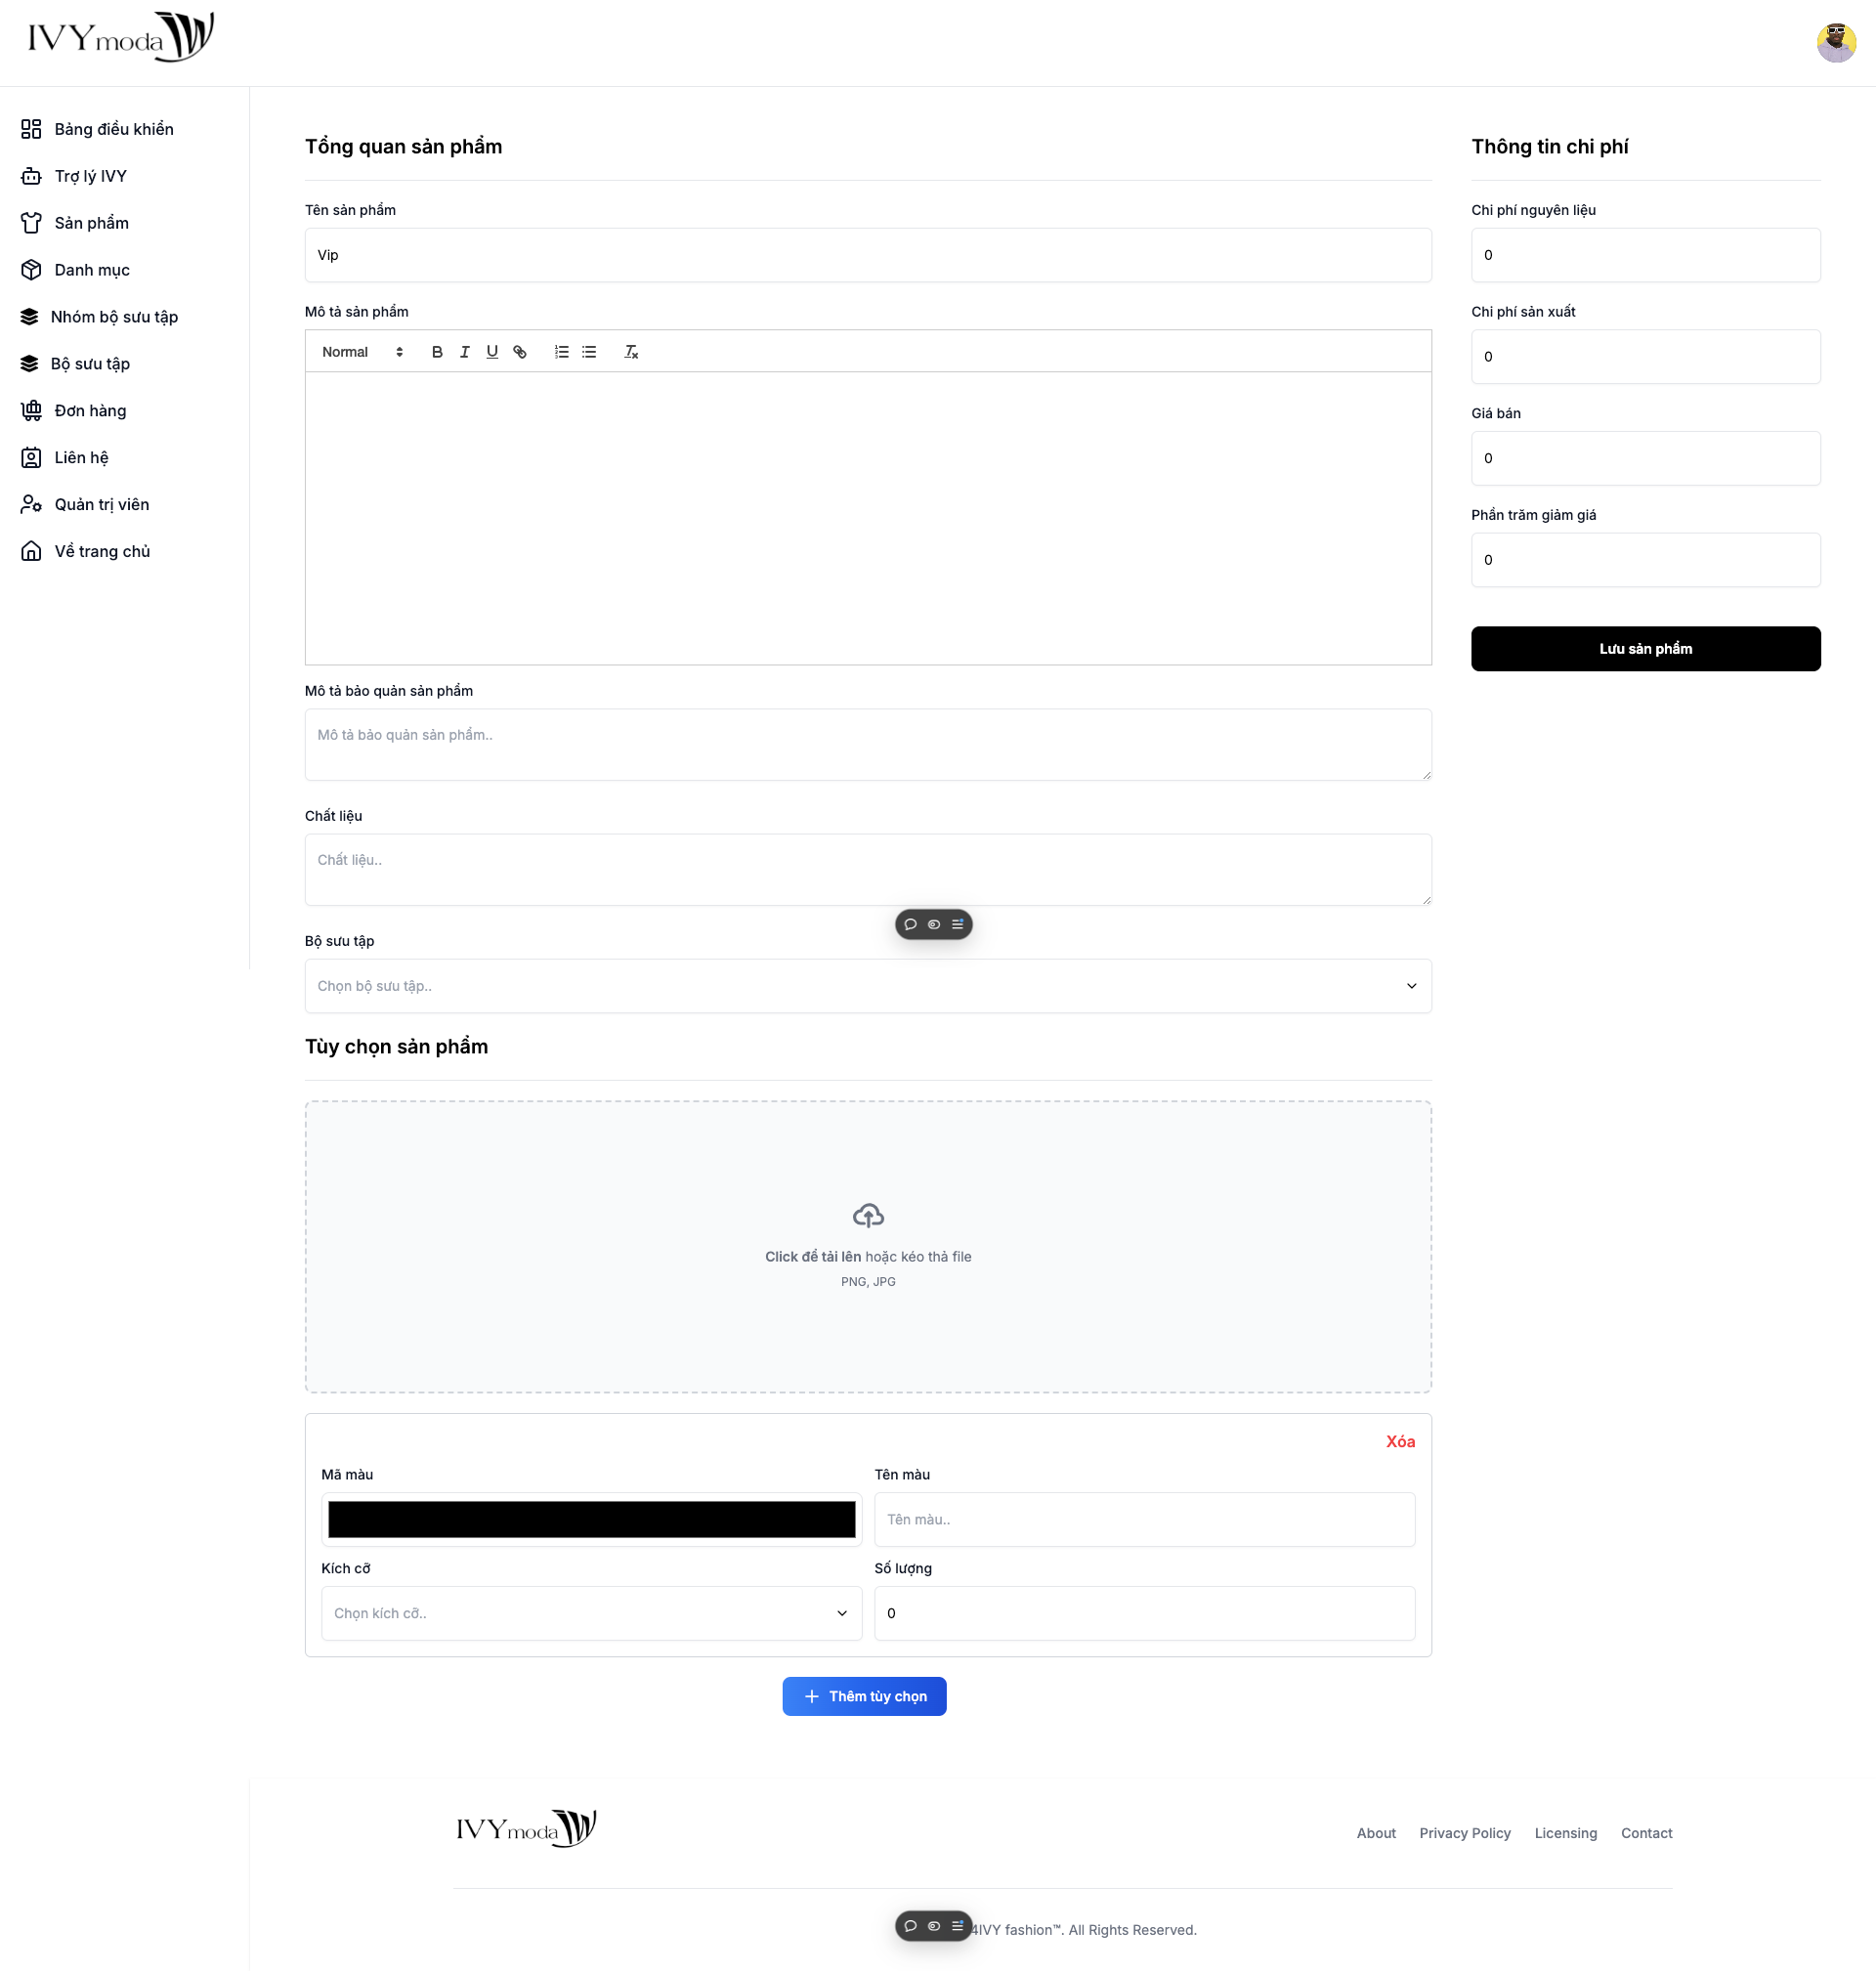
- Admin dashboard for managing inventory, categories, discounts, and user orders
- AI assistant for business analytics and chatbot support using Langchain + Gemini
- Media management with Cloudinary and deployment via Docker, Nginx, and VPS
2. Technologies used:
3. Getting started:
This project includes three main parts:
- NestJS Server - Backend server integrated with MongoDB, Redis, JWT, GHN, and VNPay.
- FastAPI Analytics Server - Analytics server powered by Google Generative AI.
- Next.js Client - Frontend client with integration to backend APIs and external services like GHN, Cloudflare, and Cloudinary.
Demo video
Youtube url: https://youtu.be/MTnPN7Nz36o
Drive url (if youtube url has error): https://drive.google.com/file/d/1ydoMpeuo13k4kRLMk0SIH2f8DOLiC-aB/view?usp=sharing
How to Run
First step:
First. We need clone source code from repository (Repository include source code of web server, analytics server, client and env file of them)
git clone https://gitlab.duthu.net/S52100824/ivy-server.git
NestJS Server
Preparing
Before running the NestJS server, make sure you have the required environment variables set up.
-
Create
file:.envtouch .env -
Add the following configuration to your
file:.env# MongoDB MONGO_CONNECTION_URL= # Redis REDIS_URL= REDIS_TTL= # JWT JWT_ACCESS_SECRET=< JWT_REFRESH_SECRET= JWT_ACCESS_TTL= JWT_REFRESH_TTL= # Mailer MAILER_USER= MAILER_PASSWORD= MAILER_HOST= MAILER_PORT= # GHN GHN_API_TOKEN= GHN_SHOP_ID= GHN_SHOP_DISTRICT_ID= GHN_SHOP_WARD_CODE= GHN_SHIPPING_URL= GHN_BASE_PACKAGE_SIZE= GHN_BASE_PACKAGE_WEIGHT= # VNPay VNP_TMN_CODE= VNP_HASH_SECRET= VNP_URL= VNP_API= VNP_RETURN_URL= VNP_VERSION= # Client CLIENT_URL= # Locale DEFAULT_LOCALE= # Owner Info OWNER_EMAIL=
With Docker:
To run the NestJS server with Docker, follow these steps:
-
Build the Docker image:
docker build -t ivy-server . -
Run the Docker container:
docker run --name ivy-server -p 3000:3000 --env-file .env --restart always ivy-server
With Local Machine:
To run the NestJS server directly on your local machine (without Docker), follow these steps:
- Install dependencies:
npm install
- Run the server:
npm run start:dev
FastAPI Analytics Server
Preparing
Before running the FastAPI server, make sure you have the required environment variables set up.
-
Create
file:.envtouch .env -
Add the following configuration to your
file:.env
GEMINI_API_KEY=Your Gemini api key
GEMINI_MODEL=Your Gemini model name
MONGO_URI=Your MongoDB connection uri
With Docker:
To run the FastAPI server with Docker, follow these steps:
- Build the Docker image:
docker build -t fastapi-analytics .
- Run the Docker container:
docker run --name fastapi-analytics -p 8000:8000 --restart always fastapi-analytics
With Local Machine:
To run the FastAPI server directly on your local machine (without Docker), follow these steps:
- Create virtual environment:
python3 -m venv venv
- Active virtual environment:
source venv/bin/activate
On Windows:
source venv/Scripts/activate
- Install dependencies:
pip install -r requirements.txt
- Run the server:
uvicorn src.main:app --reload
Next JS client
Preparing
Before running the Next.js client, you must set up the environment variables for external services.
-
Create
file:.envtouch .env -
Add the following configuration to your
file:.env# Base URLs NEXT_PUBLIC_WEB_BASE_API_URL= NEXT_PUBLIC_ANALYTICS_BASE_API_URL= NEXT_PUBLIC_SERVER_SOCKET_BASE_URL= NEXT_PUBLIC_API_TOKEN_TYPE=Bearer # GHN NEXT_PUBLIC_GHN_ADDRESS_BASE_URL= NEXT_PUBLIC_GHN_TOKEN_API= # Cloudflare NEXT_PUBLIC_CLOUDFLARE_SITE_KEY # Encryption NEXT_PUBLIC_ENCRYPT_SECRET= NEXT_PUBLIC_ENCRYPT_ALGORITHM= # Cookie Prefix NEXT_PUBLIC_ACCESS_TOKEN_PREFIX= NEXT_PUBLIC_REFRESH_TOKEN_PREFIX= # Cloudinary NEXT_PUBLIC_CLOUDINARY_UPLOAD_BASE_URL= NEXT_PUBLIC_CLOUDINARY_UPLOAD_PRESET=
With Docker:
To run the NestJS server with Docker, follow these steps:
-
Build the Docker image:
docker build -t ivy-client . -
Run the Docker container:
docker run --name ivy-client -p 3001:3000 --restart always ivy-client
With Local Machine:
To run the Next.js client directly on your local machine (without Docker), follow these steps:
- Install dependencies:
npm install
- Run the server:
npm run dev
4. Preview
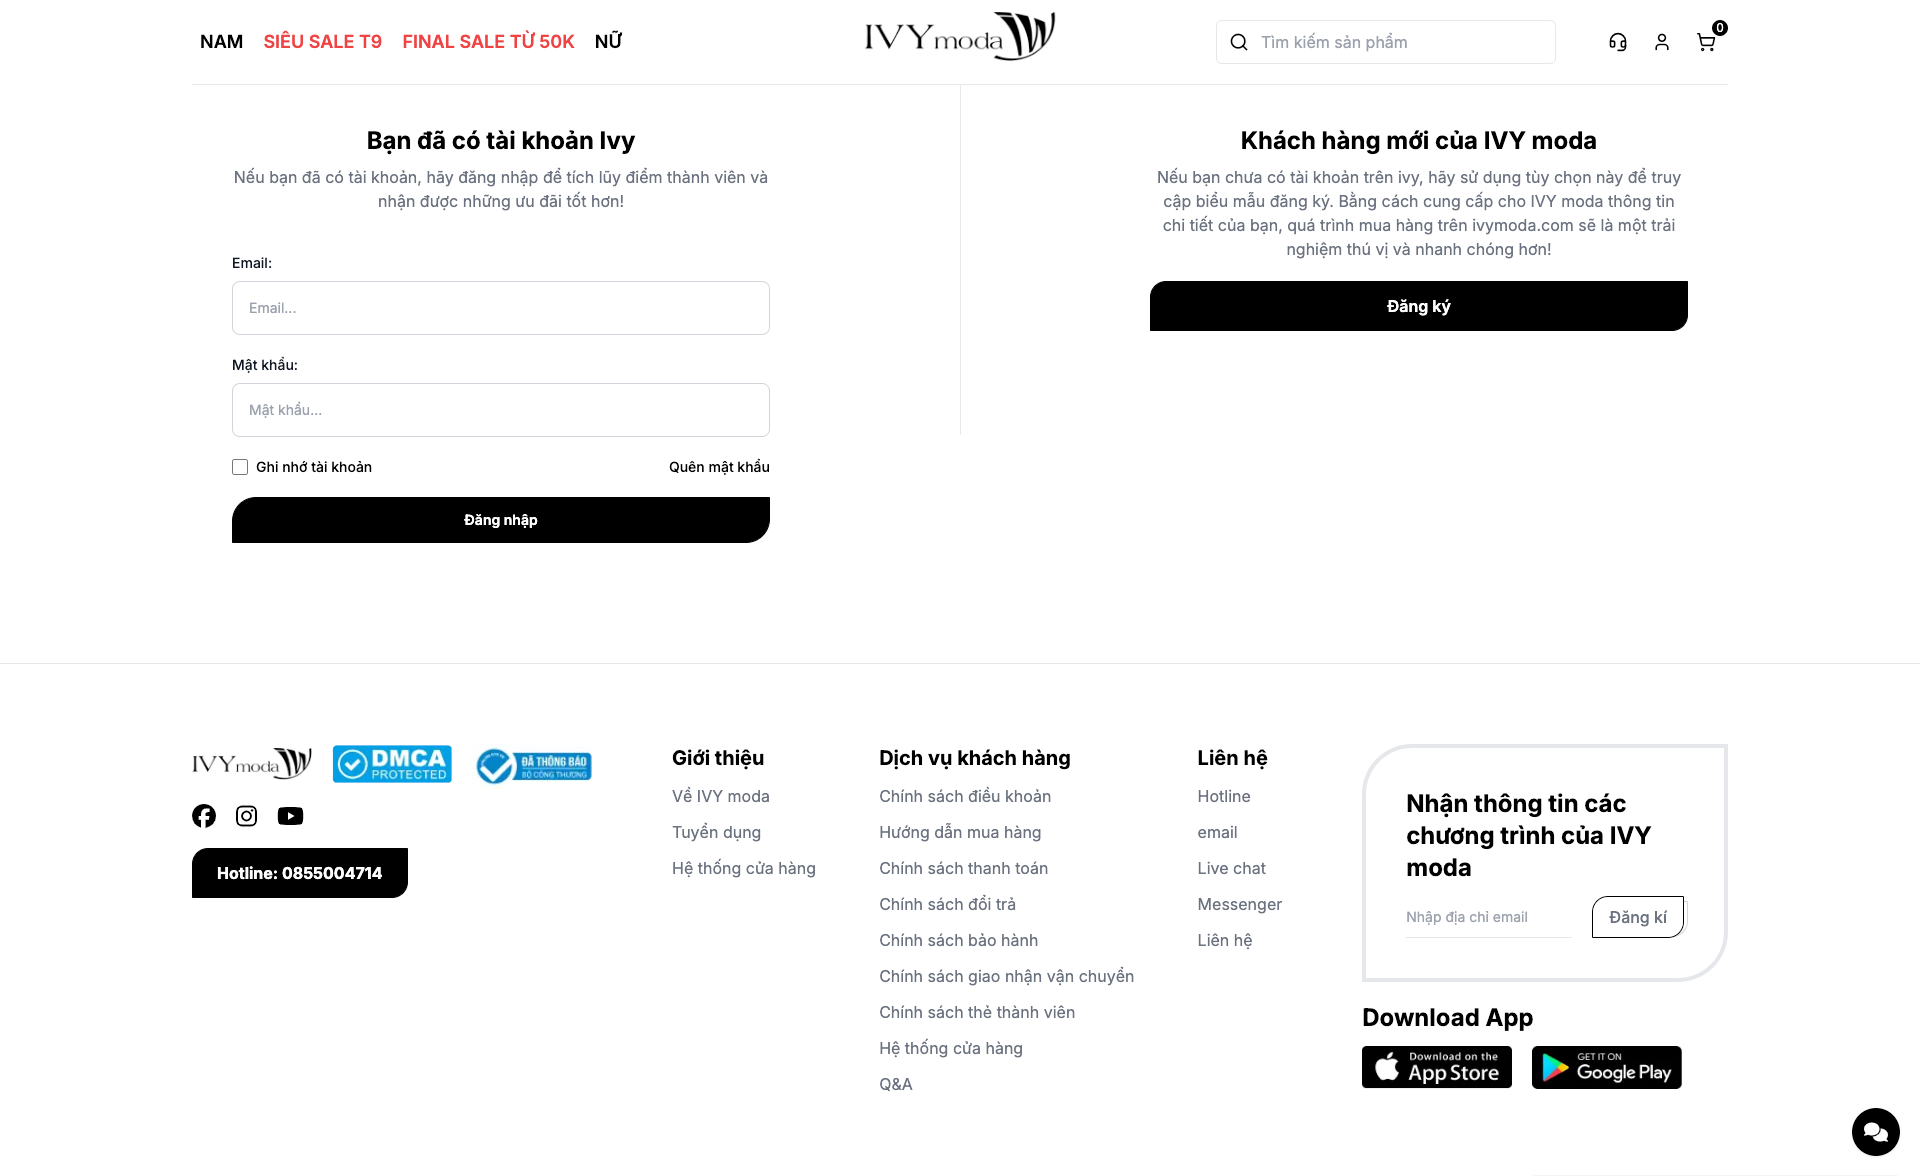
Login page
Reset password page

Home page

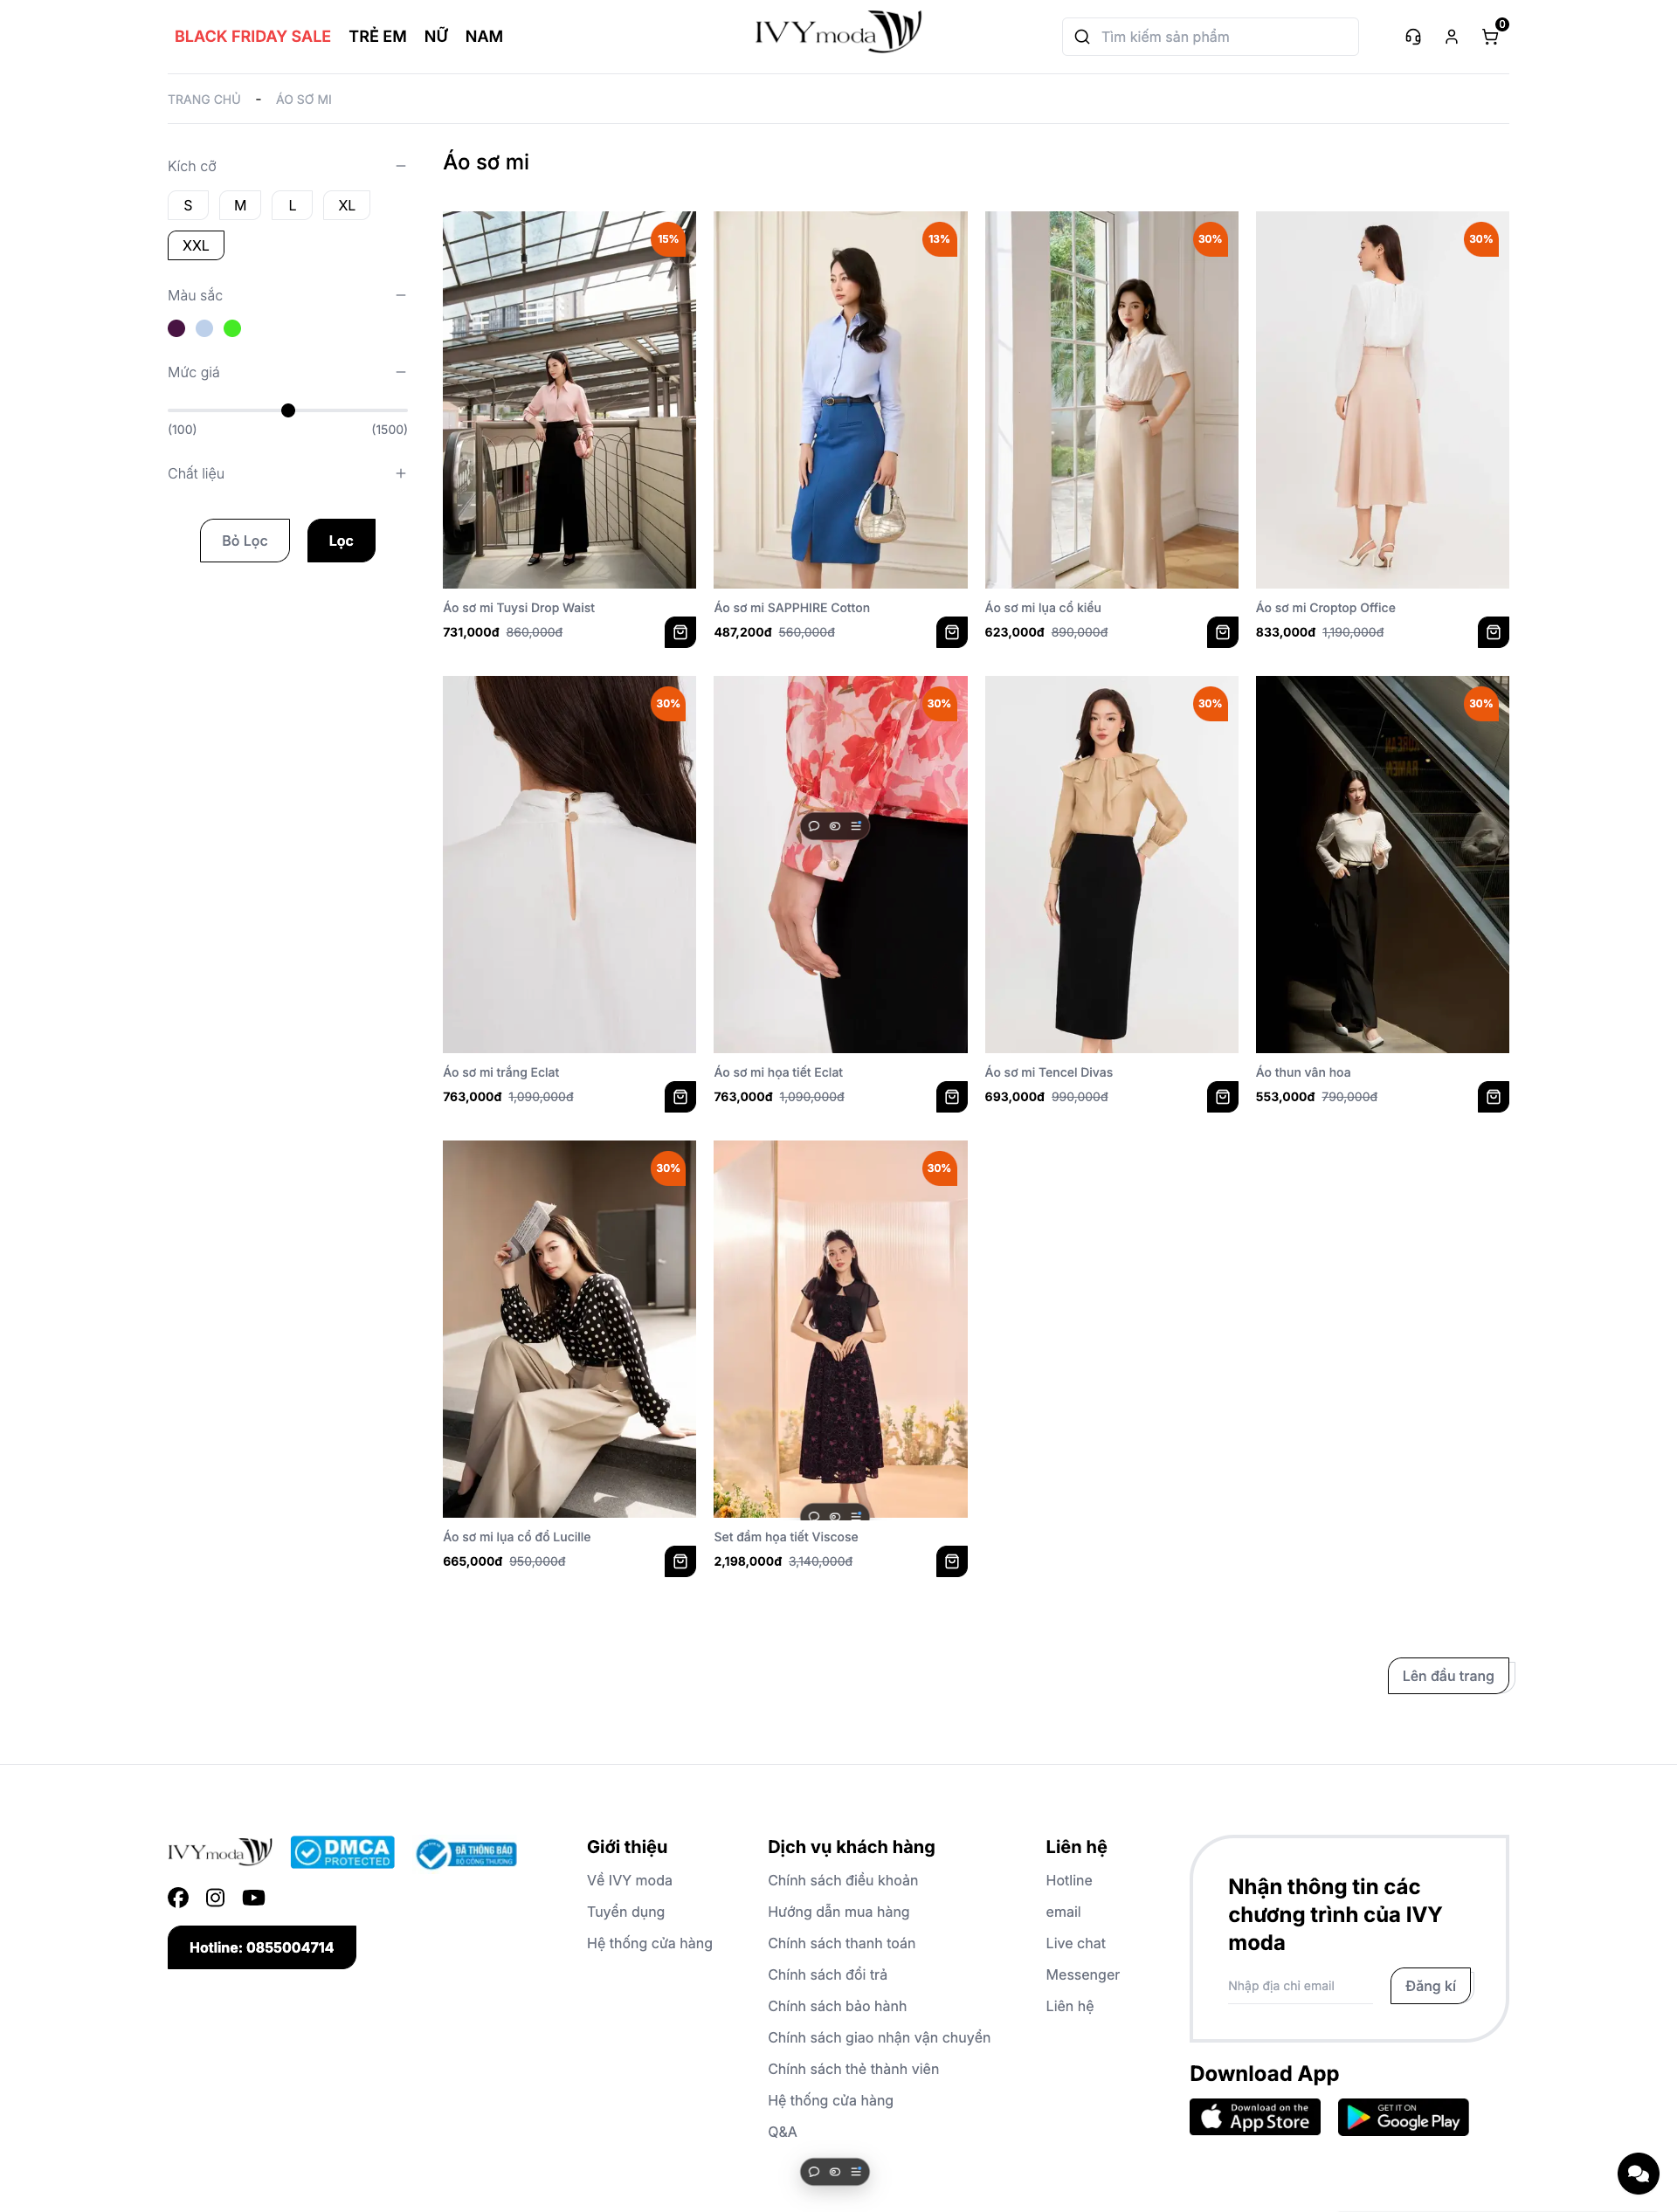
Category page
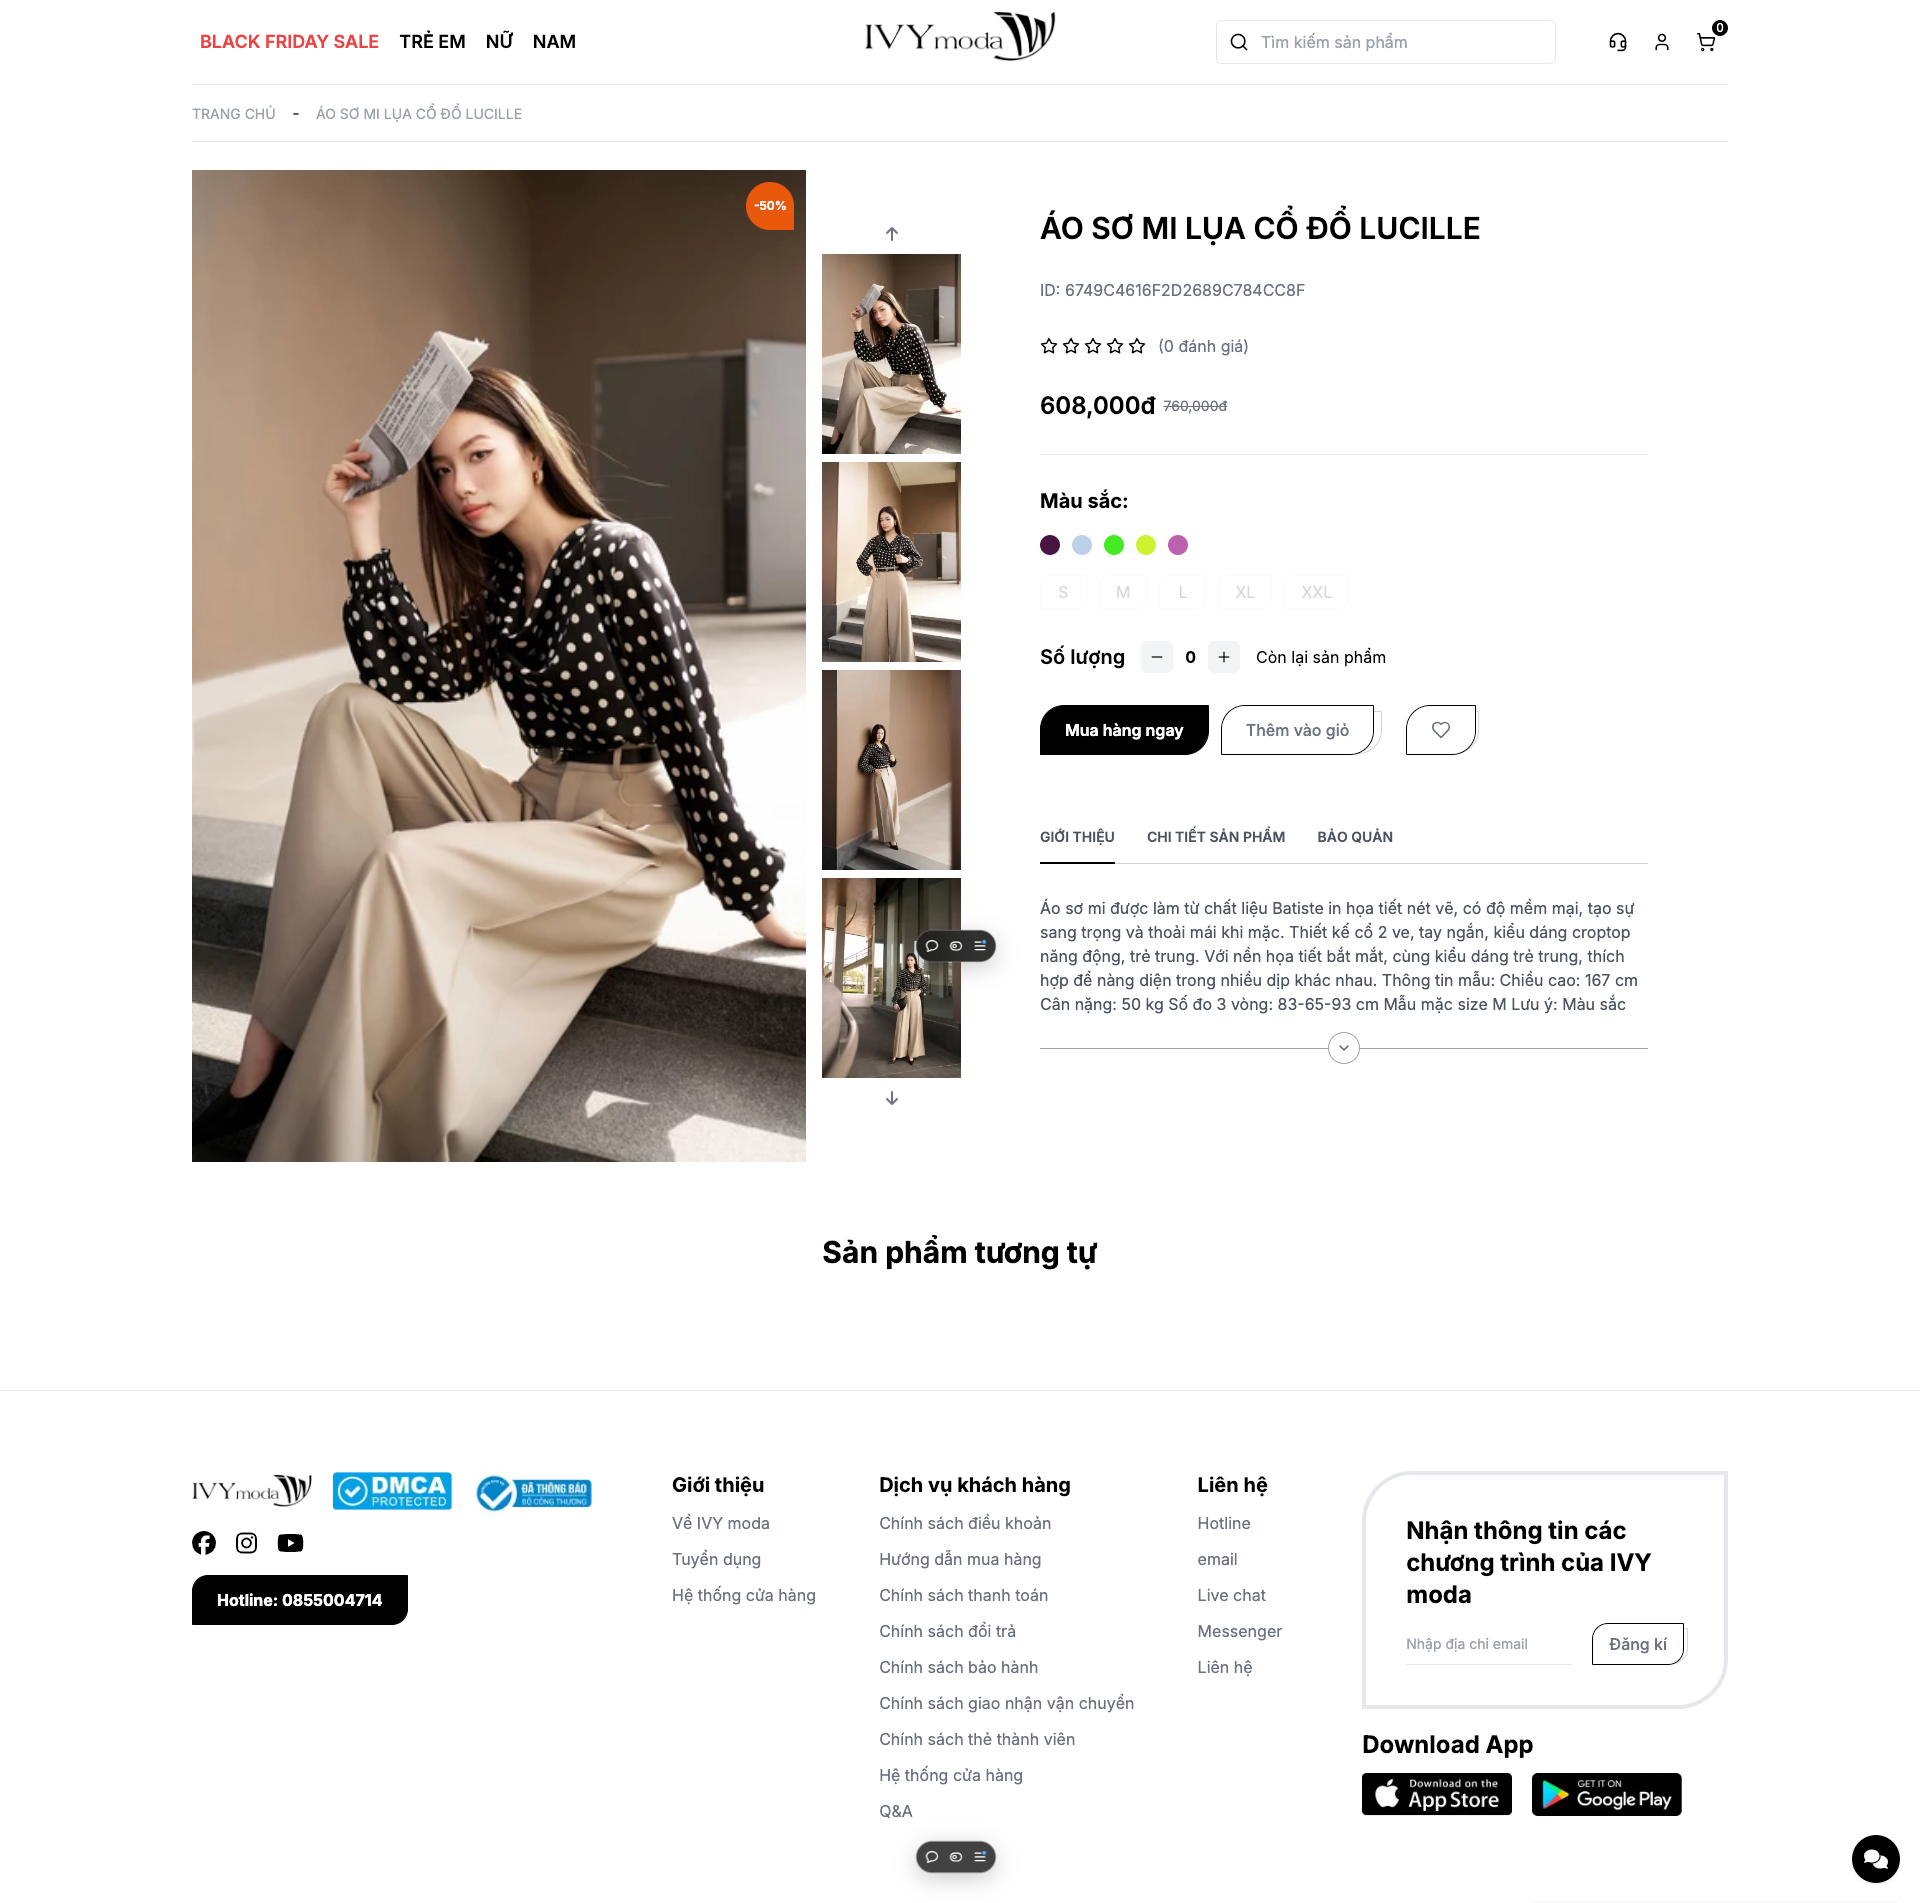
Product page
Cart page
Checkout page
Order result page

Order history page
CMS page