Picverse platform
1. Project overview:
Picverse is a cloud-based social networking platform that empowers creative individuals to share, discover, and interact around inspiring visual content. Inspired by platforms like Pinterest, Picverse focuses on community-driven media sharing with modern features for collaboration and content discovery.
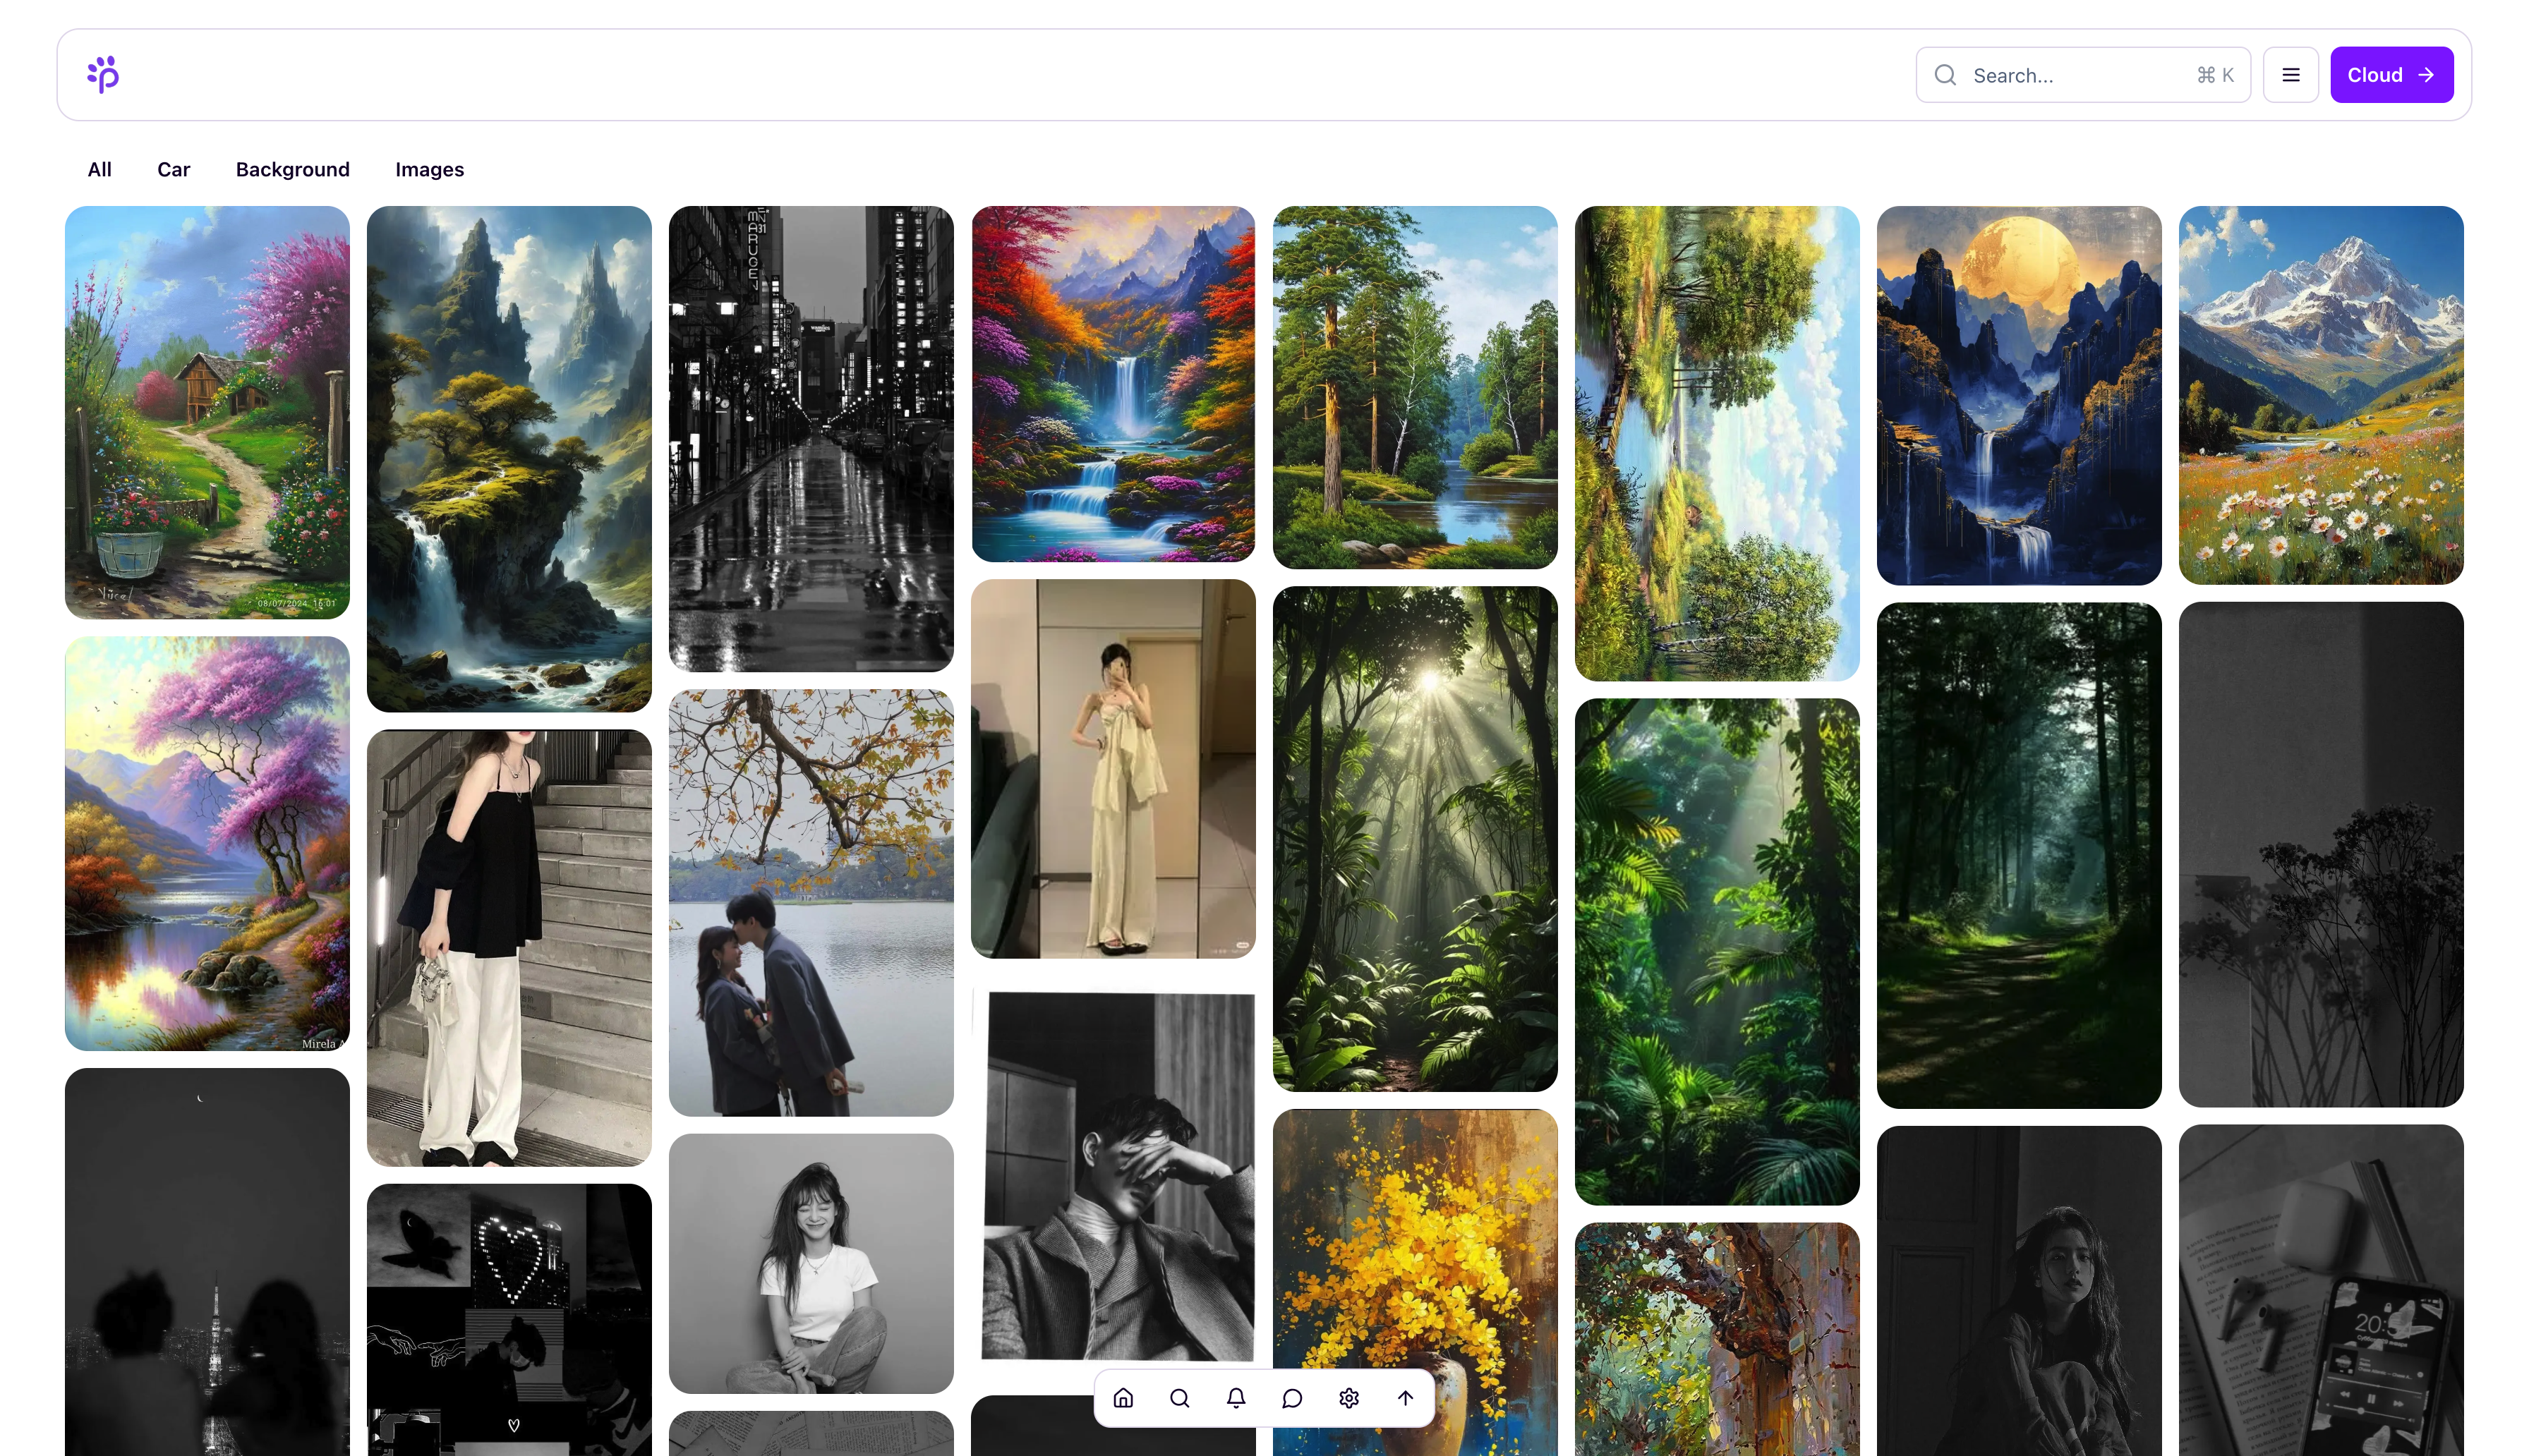
Users can post and explore images, videos, and AI-generated art across a wide range of creative topics from photography and fashion to digital design and animation. The platform emphasizes performance, security, and real-time interactivity.
2. Key Features:
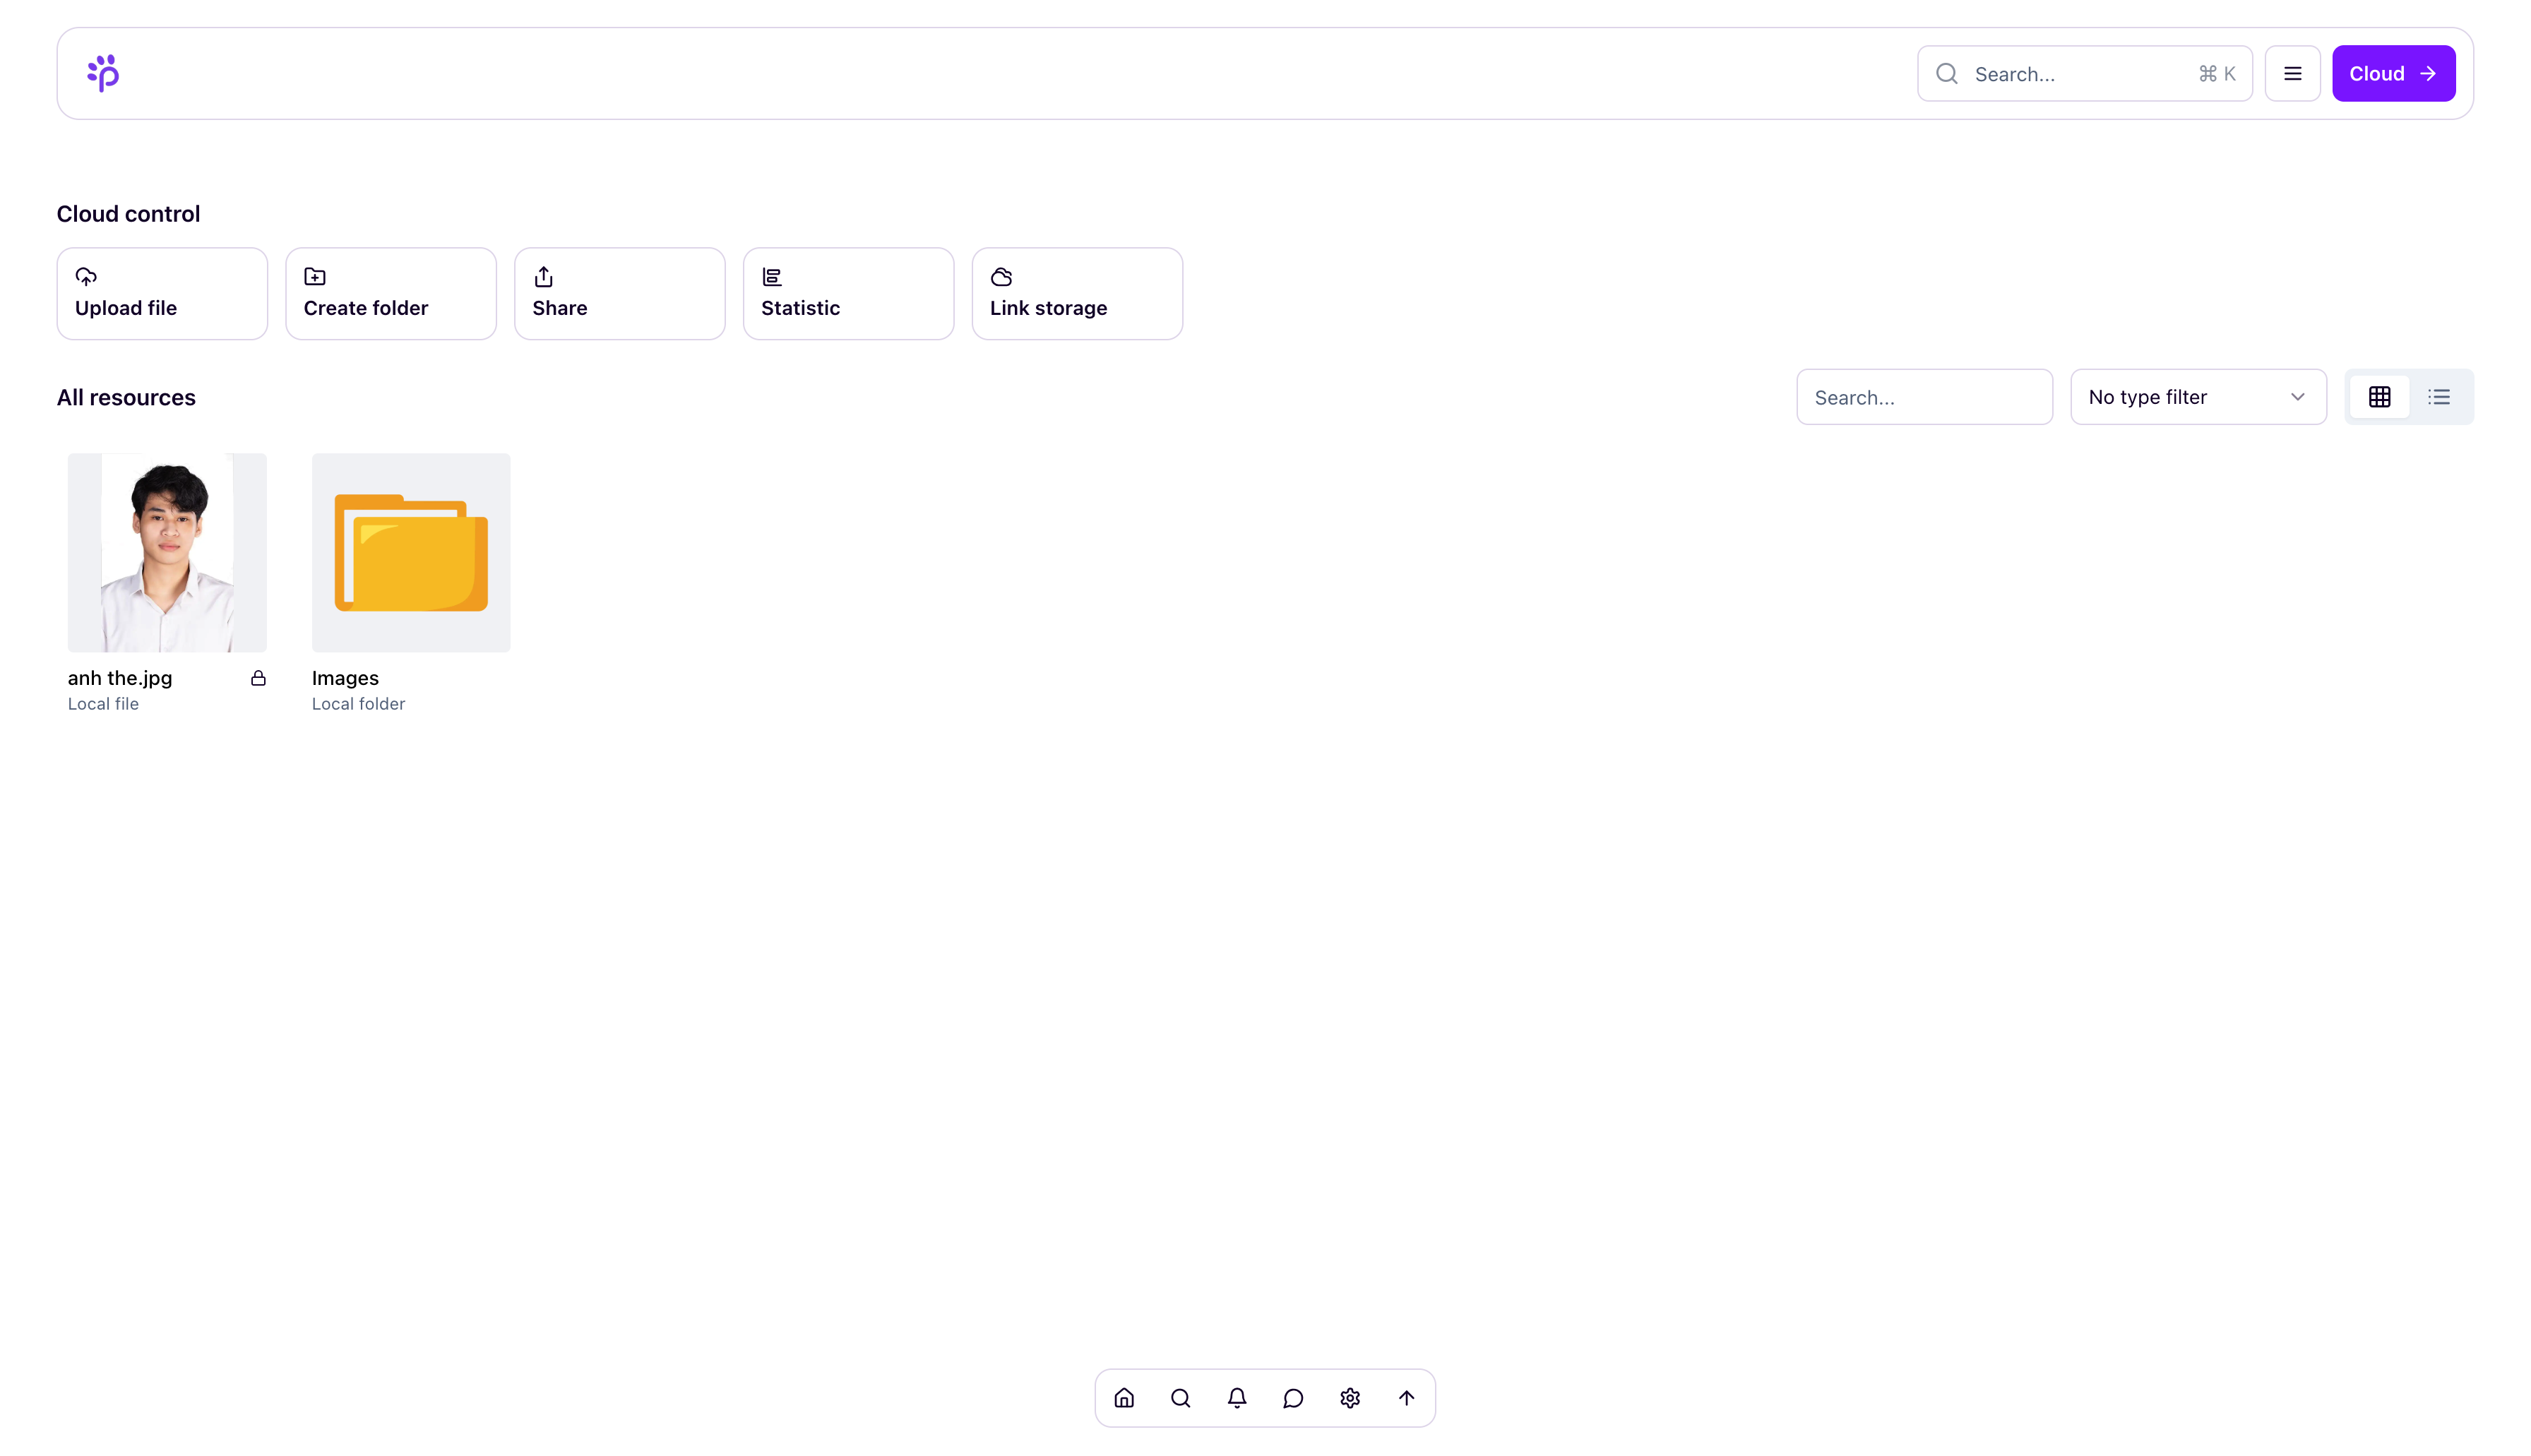
- Decentralized Cloud Storage: Ensures scalability, data redundancy, and global access to media files.
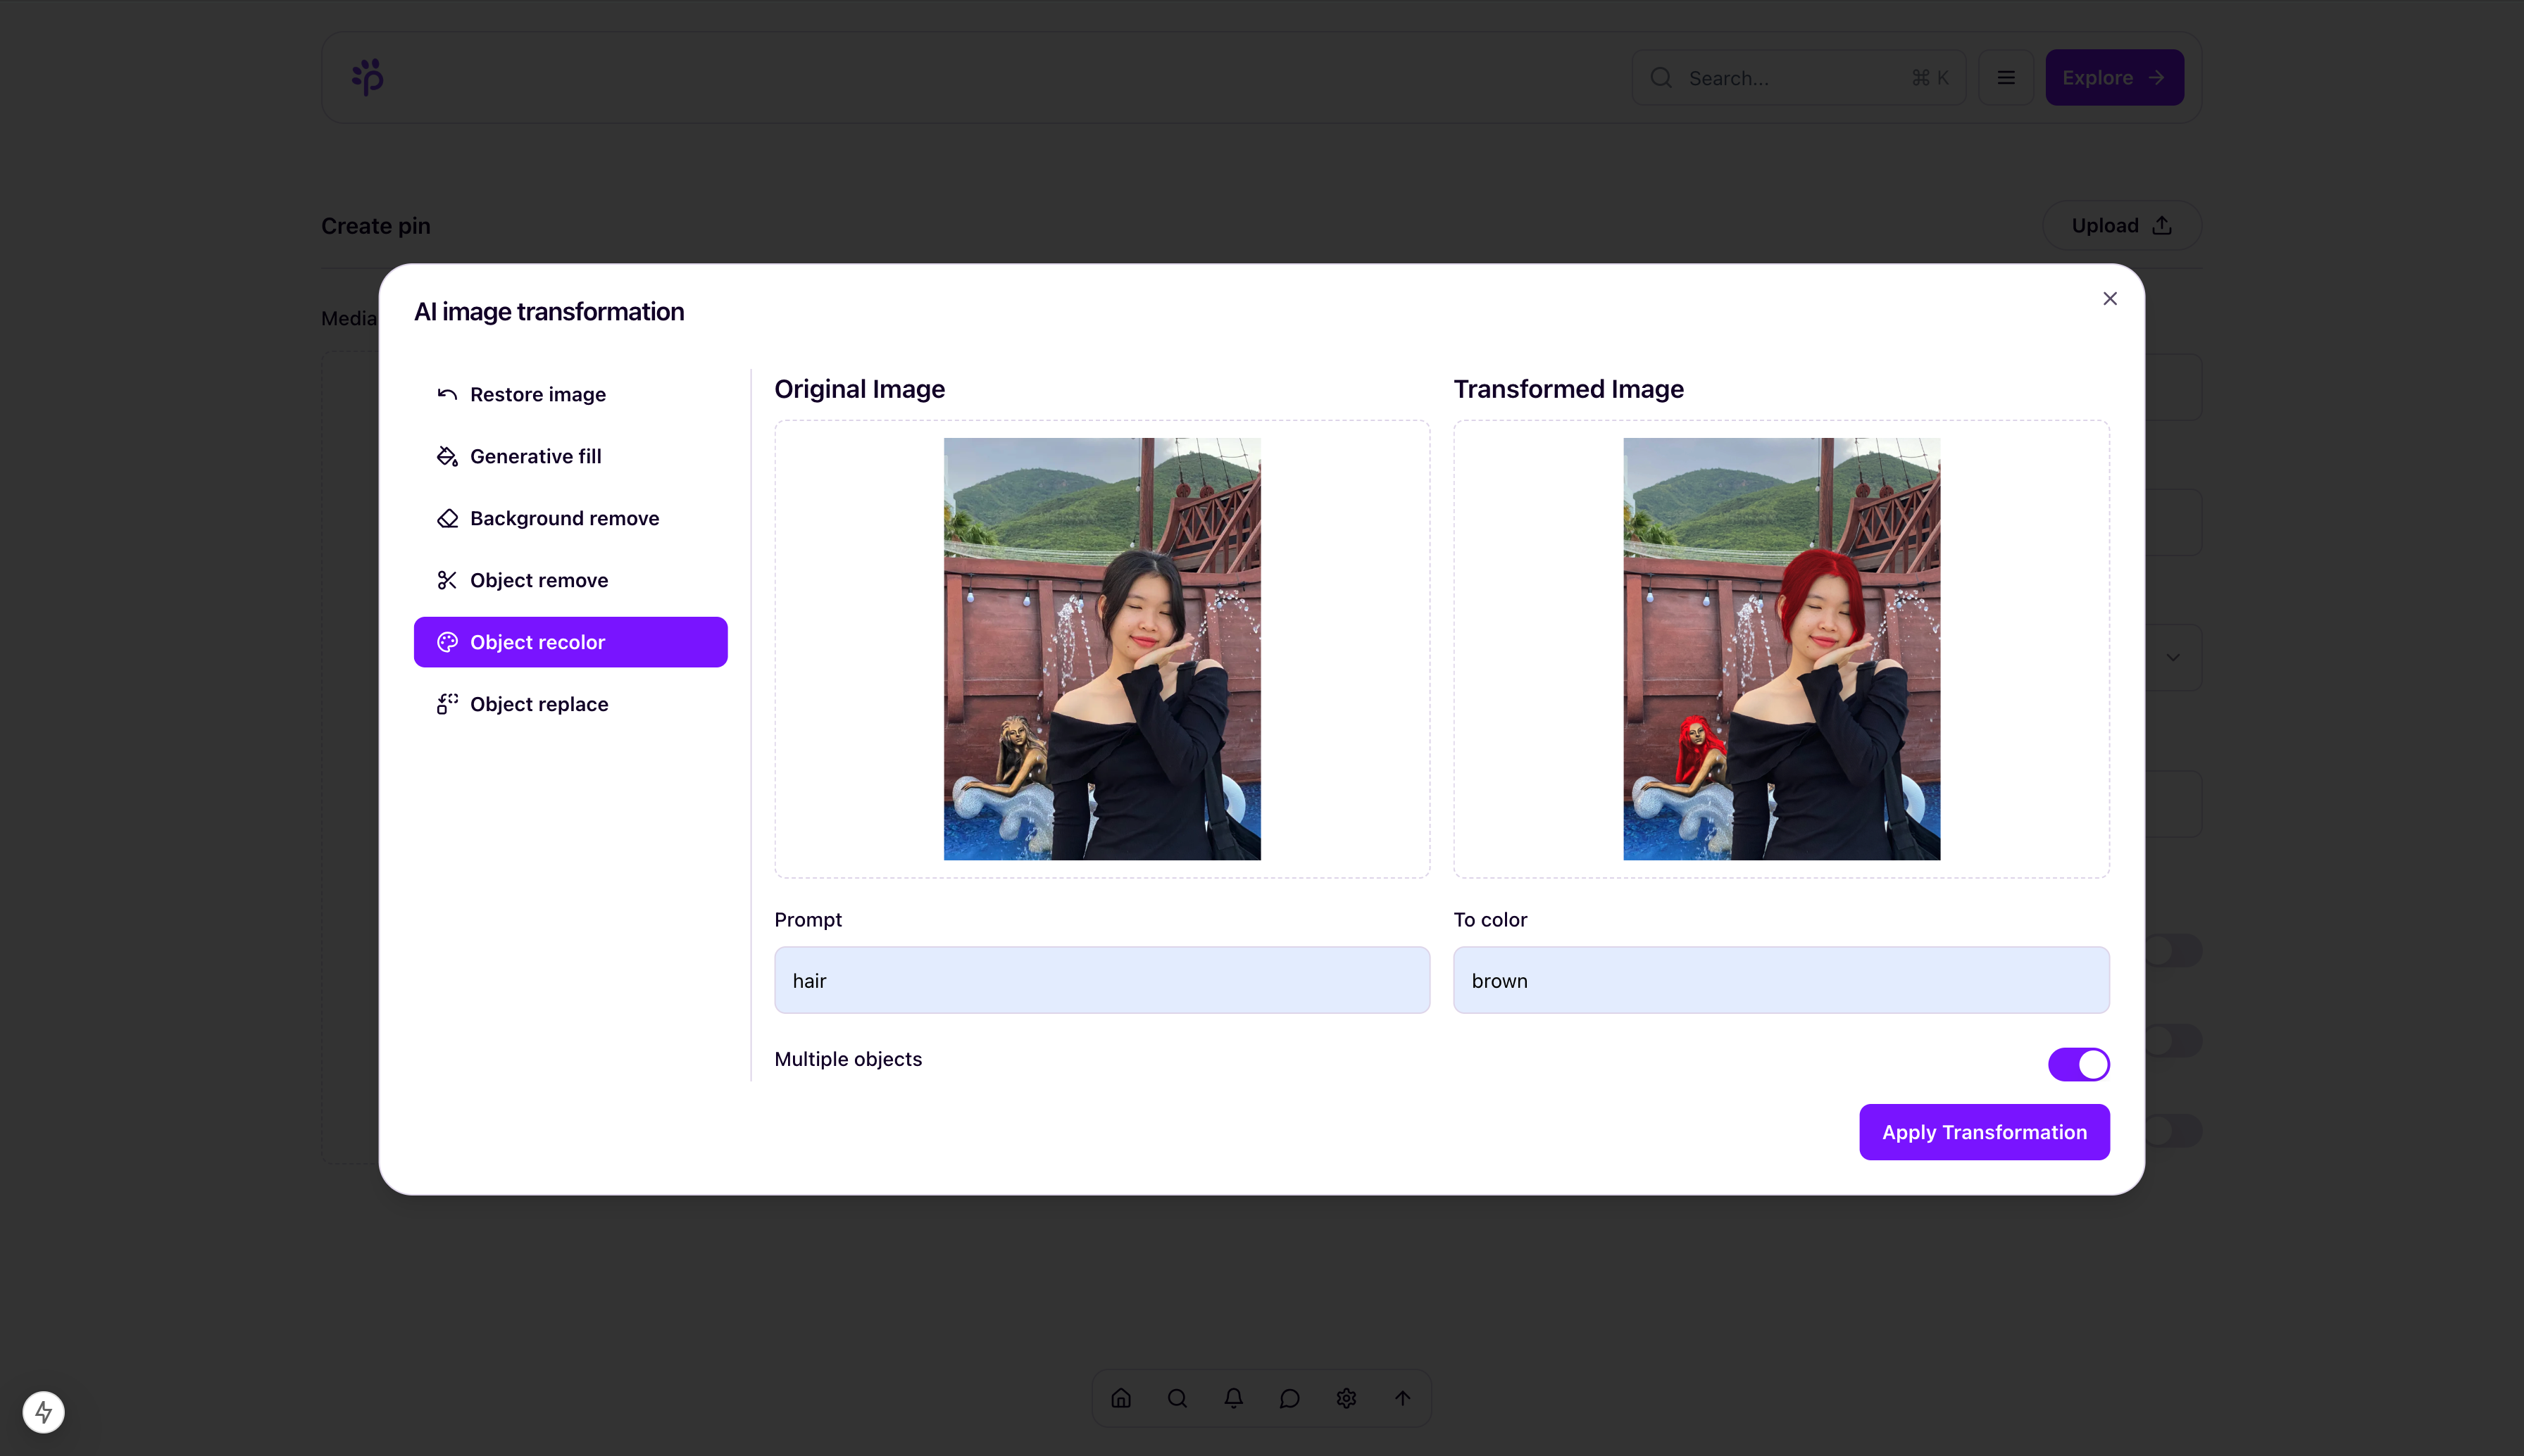
- AI-enhanced Editing: Users can apply smart filters, auto-enhancements, and generate content with AI tools.
- Smart Discovery: Personalized feeds powered by AI recommendations based on user preferences and trending content.
- Content Moderation: Integrated AI models automatically detect and filter inappropriate or harmful content.
- Realtime Interaction: Chat, comments, and live notifications promote dynamic communication between users.
- Boards & Collections: Organize favorite content into customizable collections and themed boards.
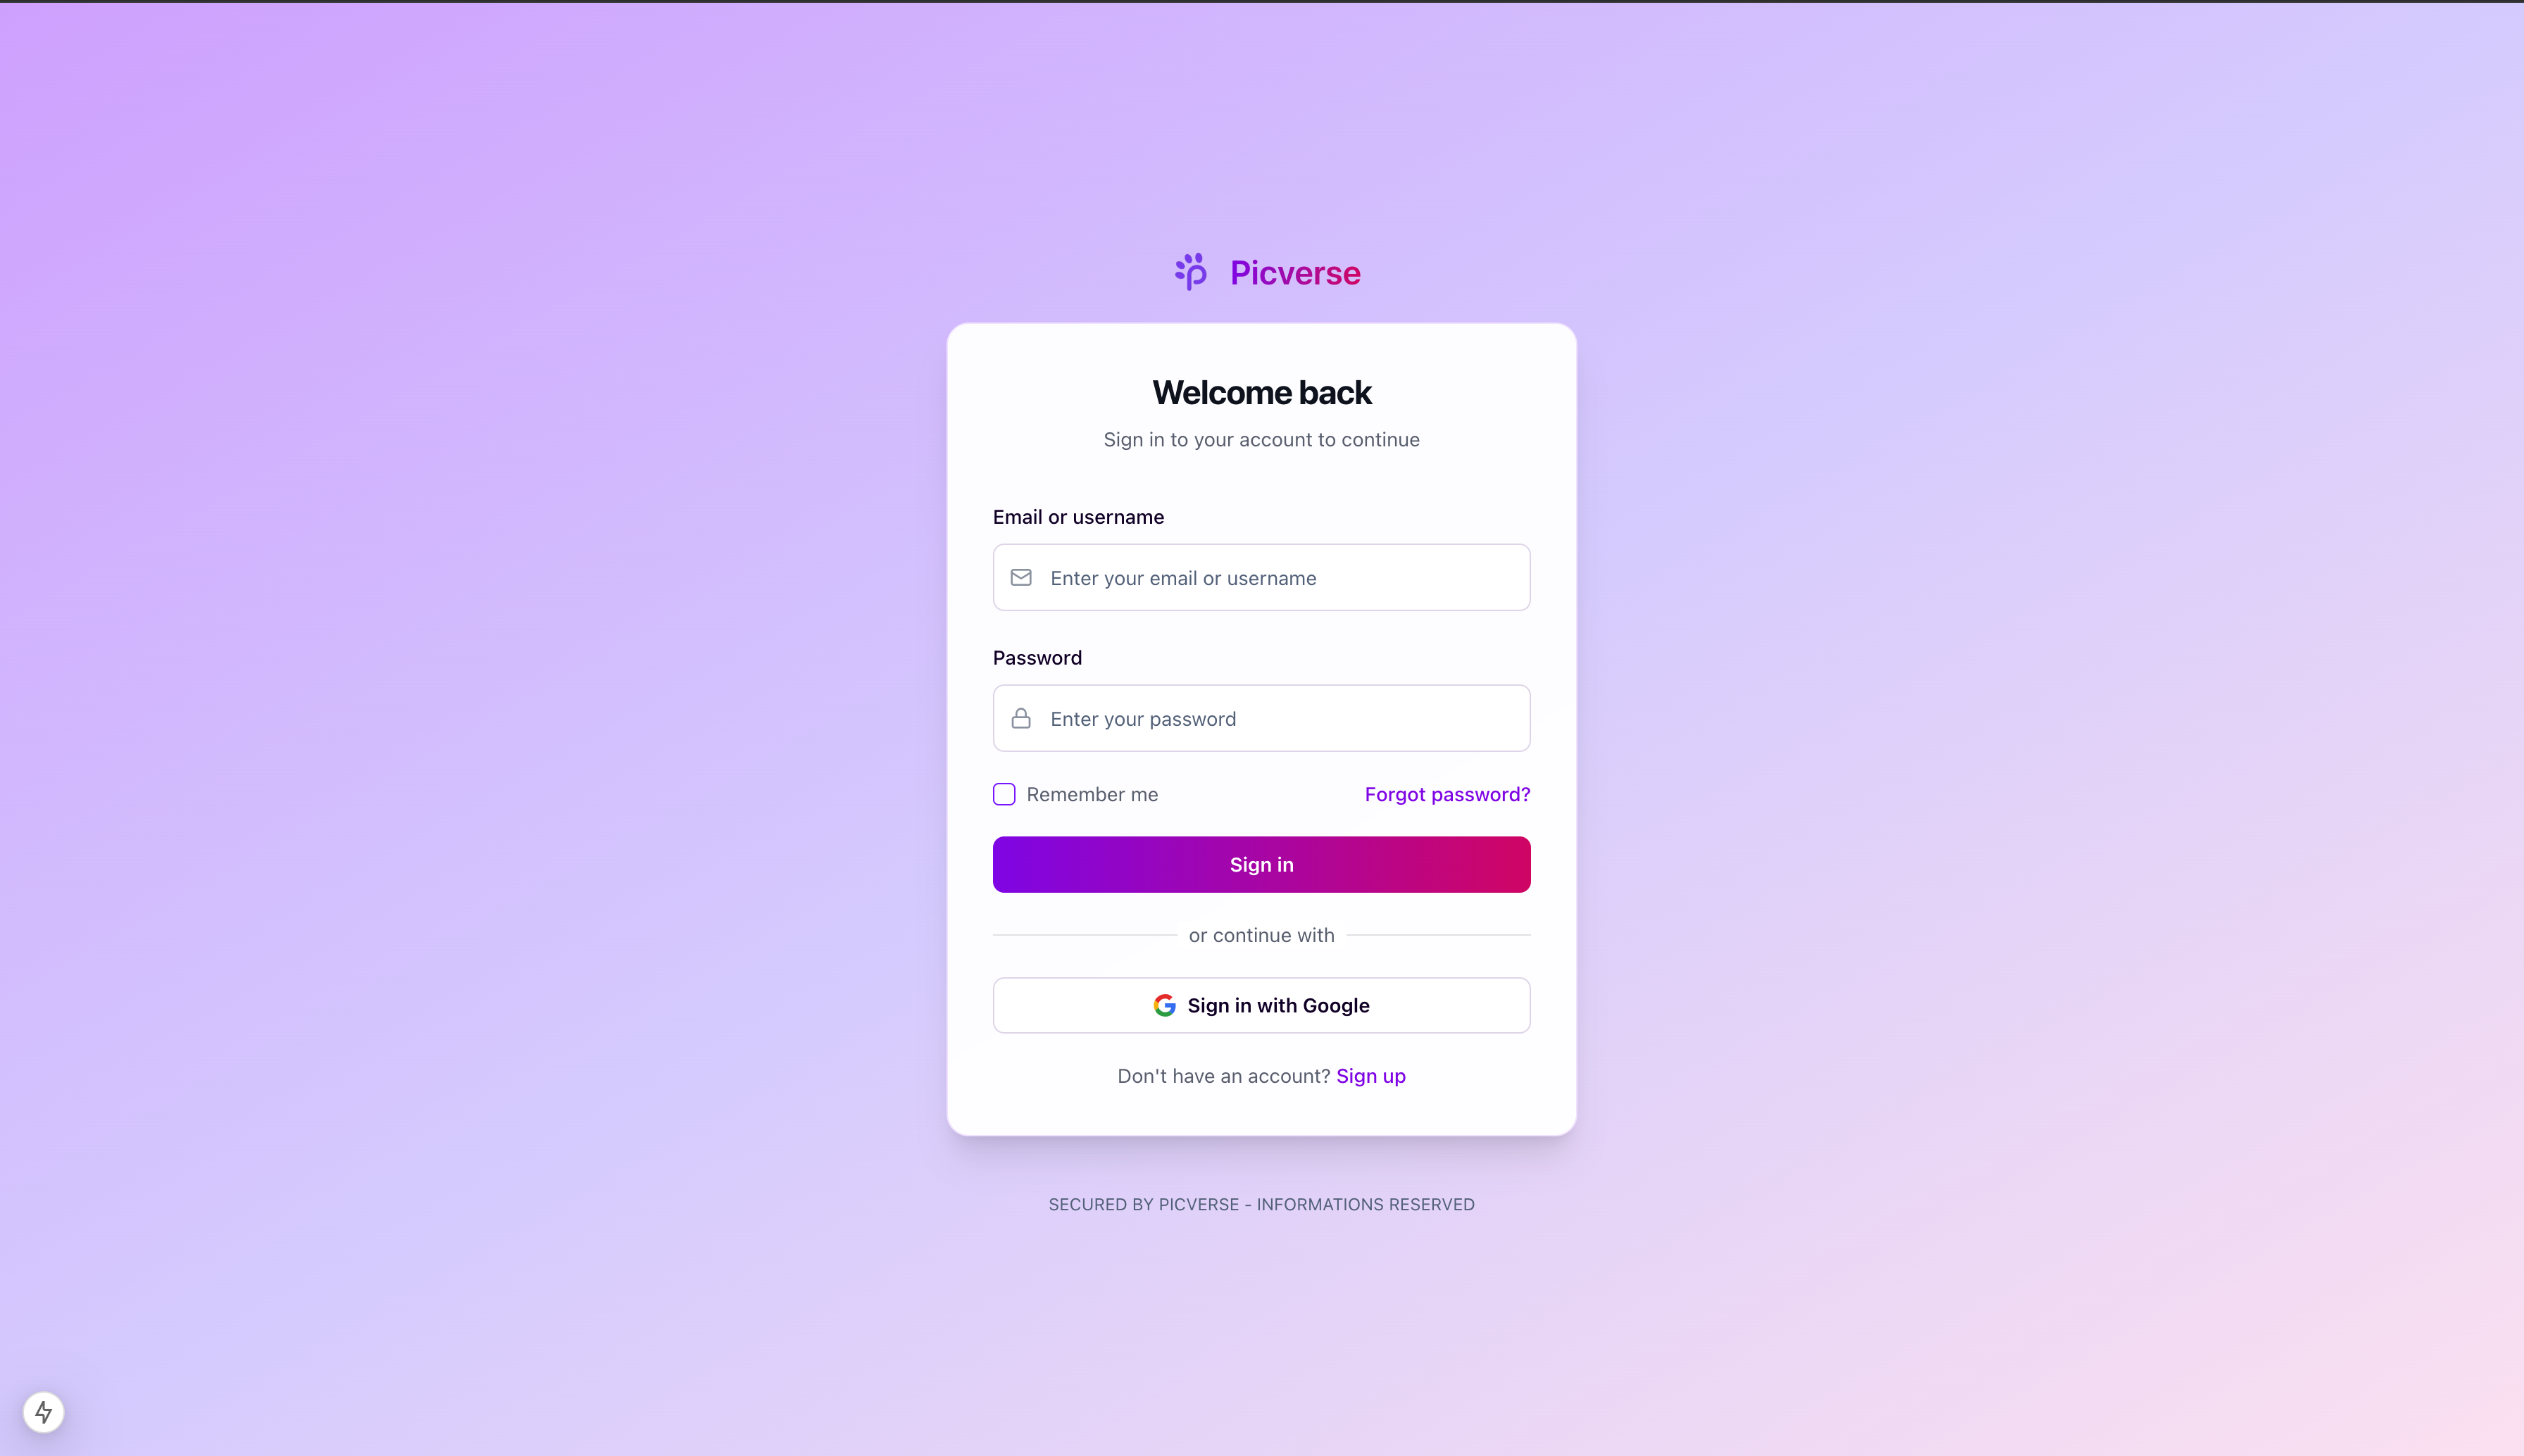
- Secure Authentication: OAuth2 and JWT with refresh token mechanism ensure safe and smooth login, with support for social sign-in and Two Factor Authentication.
Built with a modern stack (Next.js, NestJS, MongoDB, Redis, Qdrant), Picverse delivers a fast, interactive, and engaging experience. It’s designed not just for browsing content but for building a thriving creative ecosystem where users can connect, collaborate, and grow together.
3. Tech stack:
3. Preparing
First step:
First. We need clone source code from repository (Repository include source code of web server, analytics server, client and env file of them)
git clone https:/github.com/duongtrungnguyenrc/picverse.git
Environment requirement
- Docker (version 27.4.0 or later)
- Docker compose (version 2.32.4 or later)
- Node JS (version 20.14.0 or later)
- MongoDB (Optional)
- Redis server (Optional)
- Free port: 3000, 3001
NestJS Server
Before running the NestJS server, make sure you have the required environment variables set up.
-
Create
file:.envtouch .env -
Add the following configuration to your
file:.env# APP APPLICATION_RUNNING_PORT= CLIENT_ORIGIN= # MONGO DATABASE MONGO_URI= MONGO_PRIMARY_NAME= MONGO_CLOUD_NAME= MONGO_REPLICA_SET= MONGO_READ_PREFERENCE= # REDIS REDIS_URL= REDIS_TTL= # JWT JWT_ACCESS_SECRET= JWT_REFRESH_SECRET= JWT_ACCESS_TTL= JWT_REFRESH_TTL= # Mailer MAILER_USER= MAILER_PASSWORD= MAILER_HOST= MAILER_PORT= # OAuth OAUTH_CLIENT_ID= OAUTH_CLIENT_SECRET= OAUTH_CALLBACK_URL= # Push notification NOTIFICATION_PUBLIC_KEY= NOTIFICATION_PRIVATE_KEY= # Fcm FCM_PROJECT_ID= FCM_CLIENT_EMAIL= FCM_PRIVATE_KEY= # Client CLIENT_URL= CLIENT_DOMAIN= ############################################################################ ## CLOUD STORAGE PROVIDER PLATFORM ## # CLIENT REDIRECT CLIENT_CLOUD_CALLBACK_URL= # Dropbox DROPBOX_APP_KEY= DROPBOX_APP_SECRET= DROPBOX_CALLBACK_URL= # Drive DRIVE_CALLBACK_URL=
Next JS client
Before running the Next.js client, you must set up the environment variables for external services.
-
Create
file:.envtouch .env -
Add the following configuration to your
file:.envNEXT_PUBLIC_API_SERVER_ORIGIN= # AUTH NEXT_PUBLIC_ACCESS_TOKEN_PREFIX= NEXT_PUBLIC_REFRESH_TOKEN_PREFIX= NEXT_PUBLIC_ENCRYPT_SECRET= NEXT_PUBLIC_ENCRYPT_ALGORITHM= # CLOUDINARY NEXT_PUBLIC_CLOUDINARY_CLOUD_NAME= NEXT_PUBLIC_CLOUDINARY_API_KEY= NEXT_PUBLIC_CLOUDINARY_API_SECRET= NEXT_PUBLIC_CLOUDINARY_API_BASE_URL= NEXT_PUBLIC_CLOUDINARY_UPLOAD_PRESET=
Start project
With Docker compose:
To run project with Docker compose, run command:
docker-compose up --build -d
With Local Machine:
To run project on your local machine (without Docker), follow these steps:
- Install dependencies:
Access folder with
cdFor server:
cd picverse-server
npm install
For client:
cd picverse-web
npm install
- Config data layer:
chmod +x ./scripts/local-setup.sh
sh ./scripts/local-setup.sh
- Run project
For server:
cd picverse-server
npm run start
For client:
cd picverse-web
npm start
4. Preview
Home page
Login page
Smart Image editor
Cloud page